5 Easy Makeup Hacks for a Flawless, Elevated Look

Today I’m going to show you five easy ways to elevate your makeup.
In this article, I’m sharing some of my favorite makeup hacks to show you exactly what to do to get your makeup looking polished and professional.
Tools and materials:
- Facial razor for dermaplaning
- Ice roller
- Hydrating toner
- Moisturizer
- Sunscreen, preferably tinted
- Optional pore filling primer
- Foundation
- Foundation brush
- Damp makeup sponge
- Cotton swabs
- Cream or powder blush
- Concealer
- Setting powder
- Powder puff
- Optional finishing powder
- Setting spray
Upstyle Recommends!
1. Skin prep
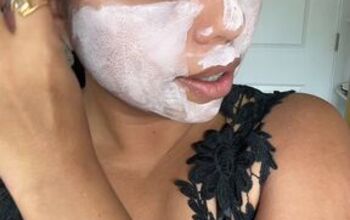
Start by making the skin look as smooth and calm as possible before any makeup goes on. If the base already looks good, everything layered on top will look better instantly.
Focus on smoothness first. Dermaplaning helps remove peach fuzz and dead skin so makeup sits flatter and blends more easily.
It also reflects light better, giving the skin a softer finish. This is not something to do daily. Every two to four weeks is enough for most people.

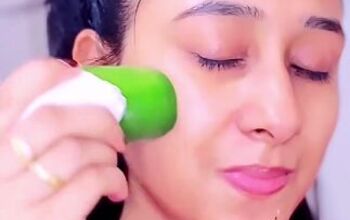
Next, calm and depuff the skin. Use an ice roller, especially under the eyes, to reduce swelling and gently tighten the skin. It is a subtle step, but it makes the face look more refreshed.
Press a hydrating toner into the skin before moisturizing, concentrating under the eyes. This adds hydration and helps prevent concealer from clinging or creasing later.
Follow with moisturizer and sunscreen. Sunscreen is non-negotiable. A tinted formula can even out the complexion and reduce the amount of foundation you need.

If you have visible pores, you can use a small amount of pore filling primer only where needed. But when the skin is properly prepped, primer is often unnecessary.
2. Foundation
Do not apply foundation straight from the tube to your face. Place it on the back of your hand or a palette first, then coat your brush evenly. This prevents heavy patches.
Start in the center of the face where redness and uneven tone are most noticeable, then blend outward. Keep the edges of the face lighter for a more natural look.
You do not need full coverage everywhere. Leaving areas like the temples and jawline more sheer helps the skin look real.

After applying with a brush, switch to a damp sponge. Press the product into the skin using a stippling motion. This smooths the surface and removes excess.
If the foundation settles into fine lines, do not reach for powder yet. Use a clean cotton swab to remove the buildup first. This makes a big difference in how the makeup wears.
Before moving on, check the foundation in motion. Turn your head and make expressions. It should look good while your face is moving, not just when still.

3. Concealer and blush
Blush placement matters more than most people think, and the type of blush determines when you apply it. Cream blush goes on before powder. Powder blush goes on after setting.
For cream blush, load your brush evenly and press it into the cheeks instead of sweeping. Pressing creates a more seamless finish.
Take whatever is left on the brush and bring it slightly under the eyes. This acts as a subtle color correction.
Peach tones help neutralize blue under eyes on medium skin. Pink works better for fair skin, and more orange tones suit deeper skin.

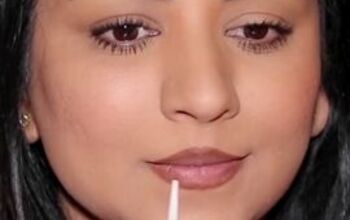
Then apply a small amount of concealer. Place one dot near the inner corner and one near the outer corner, then gently blend. This lifts and brightens while keeping the result natural.
If needed, tap a little more blush on top to soften the transition. This combines blush and under eye correction in one simple step.

4. Powder
Powder is often misunderstood. It is not about drying the skin. It is about controlling movement.
Without powder, makeup can crease and fade. Too much powder can ruin the finish. The key is balance.
Setting powder locks makeup in place. Apply it only where makeup tends to move, such as under the eyes, around the nose, and through the center of the face.
Use a powder puff for control. Load it with powder, then press it into your hand to remove excess before applying. This ensures a smooth, even result.
Finishing powder is different. It is used lightly at the end to refine texture and soften shine. It should never be applied heavily or pressed into the skin.
Choose your powder based on your skin type. Hydrating formulas suit dry skin, while oil control formulas work better for oily skin.

5. Lift the face
After setting everything, bring life back into the skin. This is where setting spray comes in.
Setting spray helps melt all the layers together, softening any powdery look and making the makeup appear more natural.
Choose one based on your skin type. Hydrating for dry skin, oil controlling for oily skin, and longer wear formulas for long days.
Once that is done, step back and assess the face. Any adjustments should be minimal. Maybe a touch of highlight or a bit more definition.
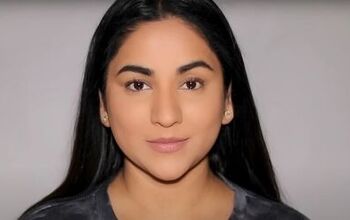
The most important part is knowing when to stop. Elevated makeup is not about adding more. It is about balance. The skin should look comfortable, the makeup should move naturally, and nothing should feel overdone.
When you stop at the right moment, the result looks effortless. And that is what truly elevates your makeup.

Elevated Makeup Hacks
If you take anything from this, let it be this. Technique is always important! I hope you found these makeup tips and tricks helpful.

Share your thoughts on this elevated makeup look in the comments below.
The author may collect a small share of sales from the links on this page.




















Comments
Join the conversation
Can you talk about setting spray more clearly