Creating Easy and Heatless Unicorn Curls: Perfect Curls Overnight

If you want to experiment with curls in a hair-healthy way, try out the heatless unicorn curls method with me.
Follow along with my tutorial to learn how to do the unicorn heatless curls.
Upstyle Recommends!
Tools and materials:
- Hair brush
- Leave-in conditioner or styling spray
- Heatless hair curler set
- Hair clips
- Hair tie

Typically when I do the heatless curls unicorn method, I use a rope tie or a wider heatless hair curler.

1. Brush and part your hair
Before beginning the unicorn heatless curls method, brush your hair to ensure it’s tangle-free. Then part your hair down the middle.

2. Apply leave-in conditioner
If, like me, you prefer to do this unicorn heatless curls method on dry hair, be sure to lightly mist your hair with leave-in conditioner or styling spray.
Working with damp hair will cause kinks to form, which will ruin the look of your unicorn heatless curls.

3. Place the unicorn heatless curler
It’s time to place the curler like a unicorn horn, following your middle part. Clip it in place.

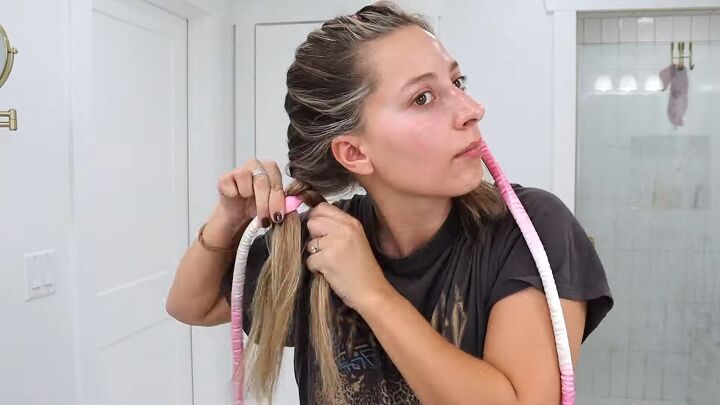
4. Wrap your first, front sections of hair over the rope
Grab a small section of hair on either side of the rope.
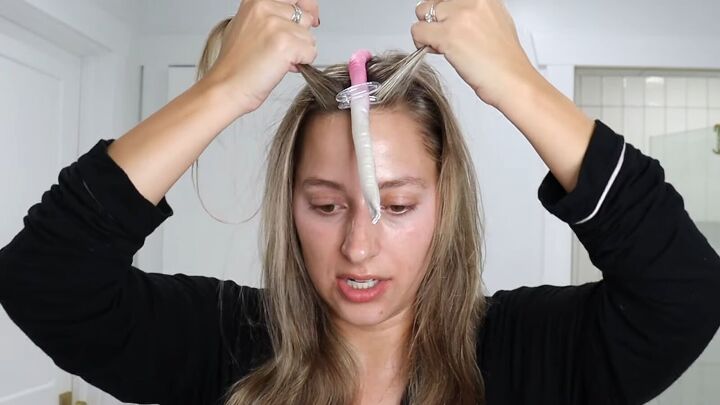
On 1 side, wrap the section over the top of the rope and then underneath the rope, returning it back to the same hand.
Note: We’ll always hold onto the same sections of hair since this is not braiding or crossing, just wrapping.

Do the same thing with the opposite section of hair: over and under the rope and back to the same hand.

5. Combine more hair and then wrap until you reach the back
While holding on to the original section of hair, grab a section next to it and combine them.
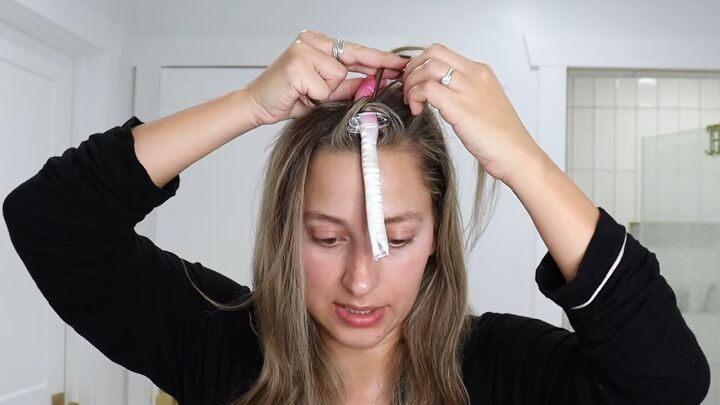
Smooth them out and repeat the same action, taking it over the top of the rope, under and back to the same side.

Repeat on the opposite side, always making sure you’re adding roughly the same amount of hair.
Pull either end tightly after wrapping to keep the hair in place.
Continue wrapping opposite sections until you reach the back of your head.

6. Continue down the back
Now that you’ve reached the back of your head, continue with the same alternating wrapping steps.
To prevent your unicorn heatless curls from looking droopy, aim to include all of the hair by the time you reach the bottom.

7. Wrap without adding new hair and secure the end
Once you’ve included all the roots, you’ll no longer have new pieces to add in.
Just wrap each section over the rope, under and back to the original side, like you did at the beginning.

Whip the hair to the front and continue if that’s easier. Just make sure that you’re wrapping in the right direction.
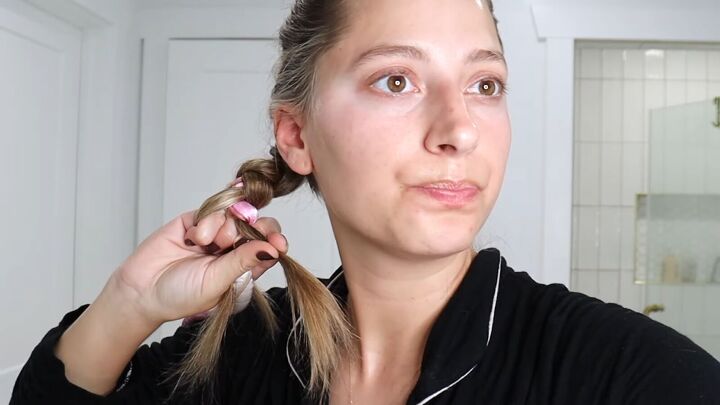
When you run out of hair, secure the end with a hair tie.

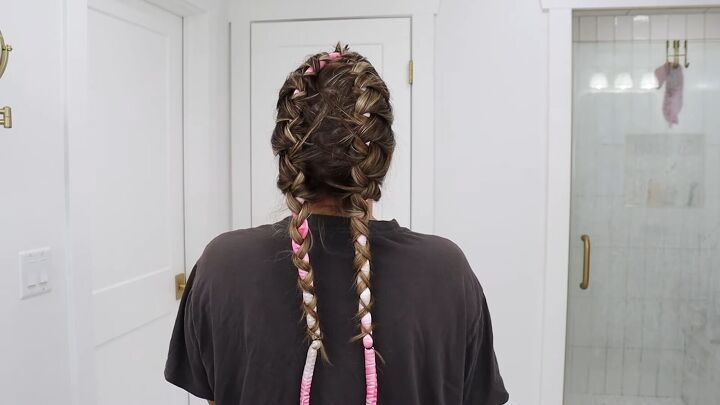
Now it should look like this:

This is seriously long!

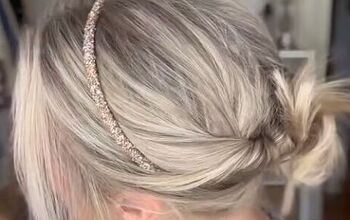
Wrap the excess rope like a crown and clip it in place so you won’t get tangled up in your sleep!

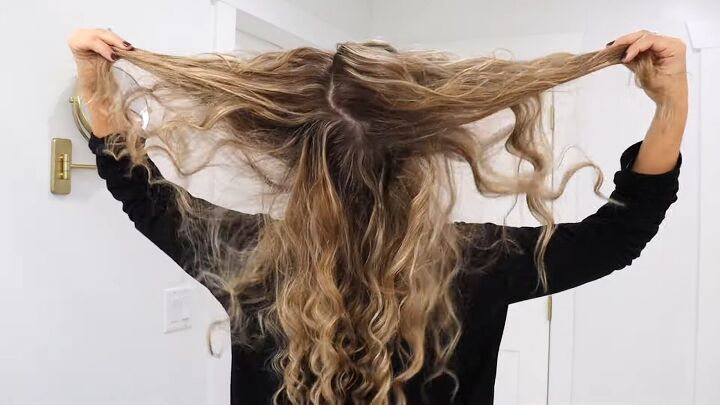
8. Remove the rope
Good morning! Let’s see how these heatless unicorn curls turned out. I didn’t do the top tightly enough…
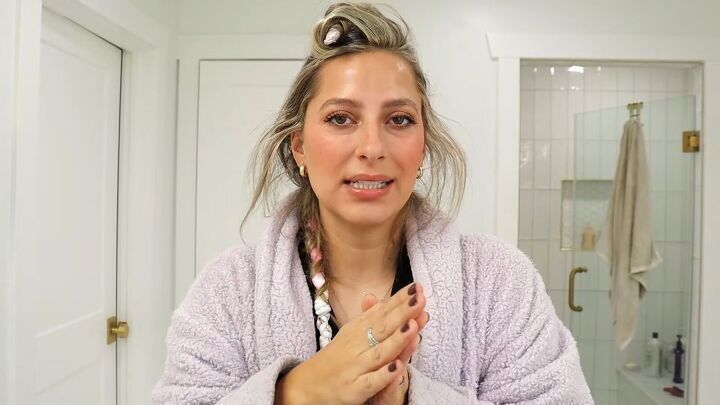
But the back held up better…

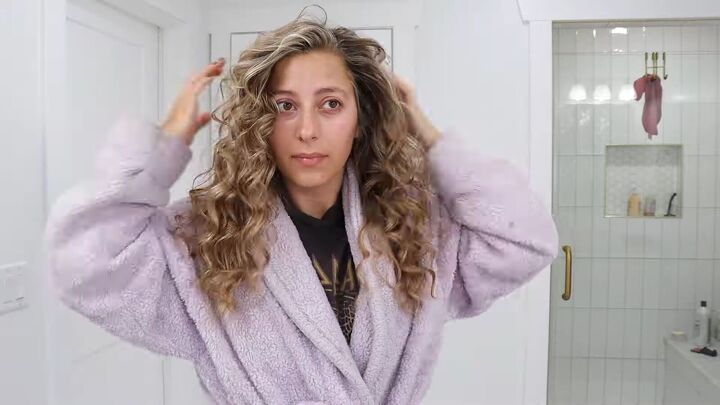
Remove the clips and hair tie. Then pull at the front of the rope to release your heatless unicorn curls.

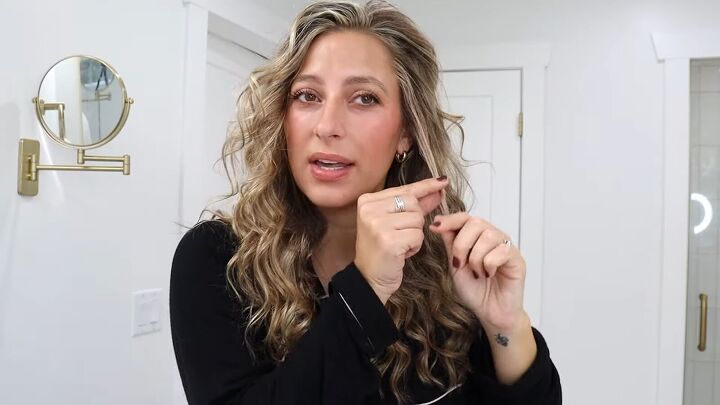
Loosen the curls with your fingers.

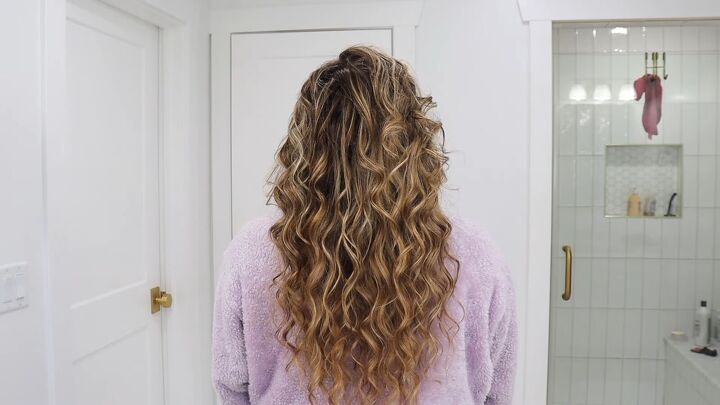
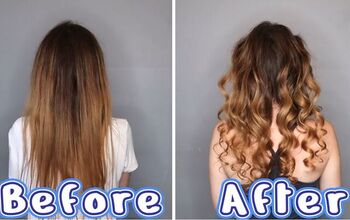
What do you think about the final results of these heatless unicorn curls?!
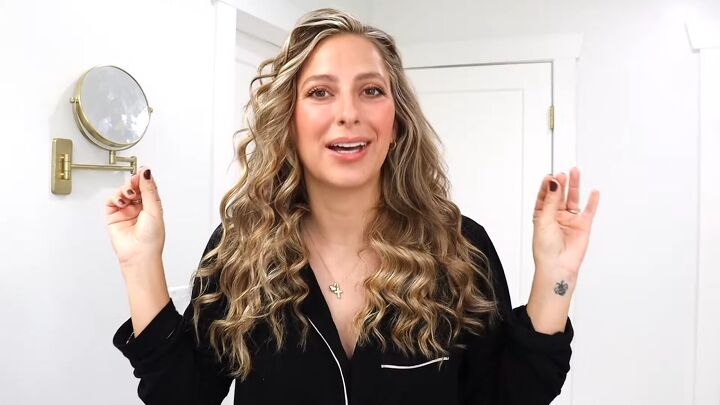
You can see how my hair is curled all the way through to the middle and sides.
The shorter pieces might not get curled with this heatless unicorn curls method because they don’t stay in. You can either tuck them behind your ears or touch up with a curling iron.
Bonus U-shaped method
with such a long, heatless curler rope, you can actually make 2 wrapped sections.
It’s the next day and I’m going to start with a zigzag part using a tail comb. As you can see, I’m not going for perfection.

Split your hair into 2 sections. You can tie off 1 side so you don’t accidentally pull hairs from that side. Then lay the rope evenly, in a U shape. Clip it in place on 1 side.

Repeat the same wrapping method, taking hair from each side of the rope and wrapping it over, under and back to the same side. Add in hair as you go, like you did in the heatless unicorn curls method.

Continue wrapping all the way back. Then repeat on the other side of the U.
Both sides are wrapped! The excess seems more realistic, so this curler is clearly meant for the U shape method.
This took about 5 extra minutes compared to the heatless unicorn curls. Here’s how it held up the next morning:

Give your curls a toss to loosen them. Here’s the final result. It only looks a smidge curlier than the 1st method.
Here’s a side-by-side look at the results of both methods:
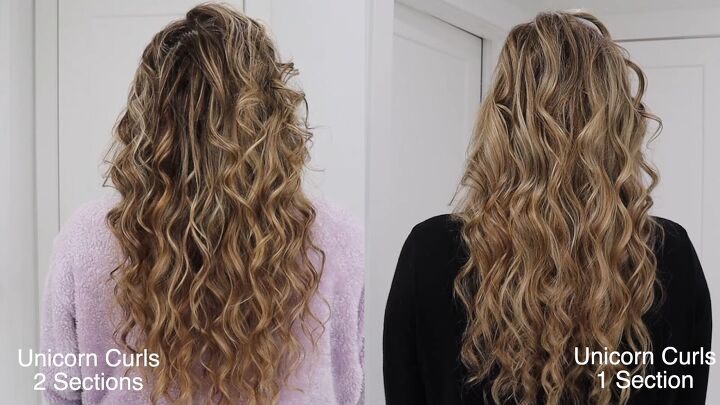
Heatless unicorn curls
Let me know in the comments what you think about the unicorn heatless curls if you’ve tried them.
Next, check out this quick and easy low bun tutorial for a chic look.
The author may collect a small share of sales from the links on this page.


Comments
Join the conversation