Cute and Easy Messy Bun Tutorial

If you want to create a cute, messy bun that will never disappoint you, then follow this simple and fail-free tutorial!
Upstyle Recommends!
Tools and materials:
- Hair elastic
- Bobby pins

1. Start with a ponytail
Start your messy bun by making a high ponytail at the back of your head.
Leave some strands loose at the front for a softer look.

2. Twist your ponytail
Separate your ponytail into two sections.

Twist those sections around your fingers.

3. Tie your ponytail sections
Tie the two twisted sections into a simple knot.

Pull gently so the knot moves up.

Twist the remaining hair in the two sections, as you did before.
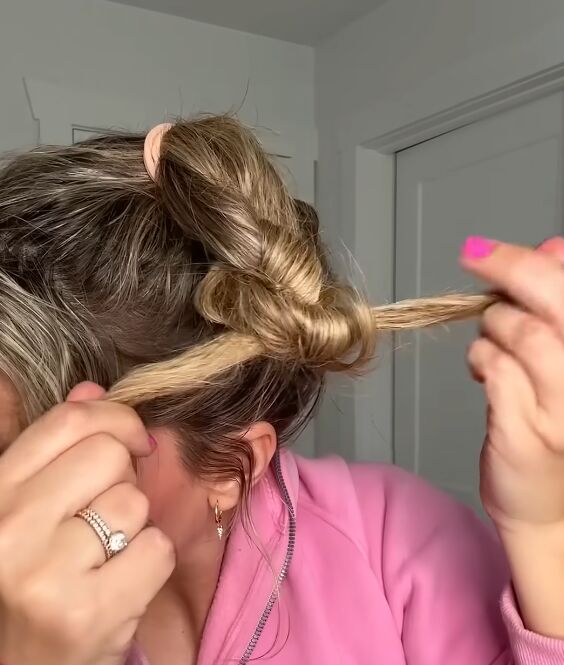
Tie the new twisted sections as you did before, sliding the knot up to lay just beneath the first knot.

4. Make your messy bun
Now, wrap your knotted hair around itself on top of your head to create a bun.
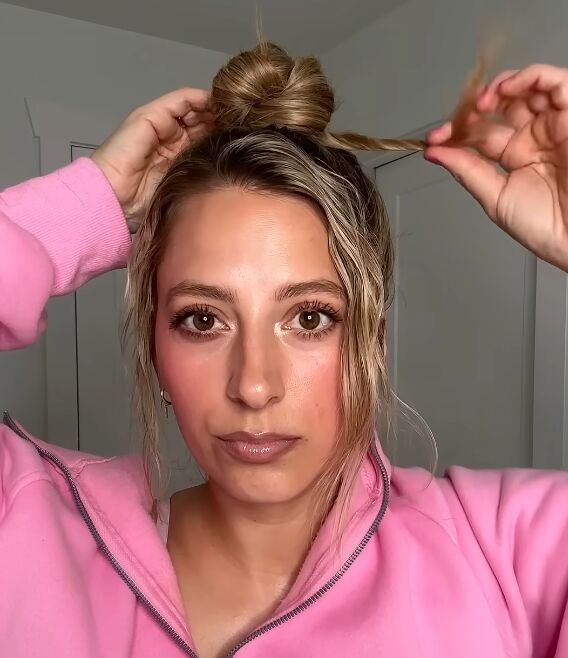
Twist any remaining hair as you go.

5. Secure your messy bun
Use a bobby pin to secure your messy bun on top of your head.

6. Finishing touches
Use your fingers to fan out your bun.

And that’s it! You now have a cute, messy bun with a soft, romantic front.

Cute, easy messy bun
It looks great from the back!
Give this cute, messy bun a try, and leave a comment to let me know how you liked it.
Next, try out these 60-second Hairstyles for When You're Short on Time.
The author may collect a small share of sales from the links on this page.

















Comments
Join the conversation