Cut a Button Down in Half...✂️😱

This project requires some sewing skills but is suitable for a confident beginner.
It’s a great way to make something special out of a boring button down.
If you’ve never gathered fabric before, this is your opportunity to learn.
Upstyle Recommends!
Tools and materials:
- Loose button down shirt
- Scissors or rotary cutter
- Fabric marker
- Ruler
- Pins
- Sewing machine

1. Choose a shirt
For best results, you want a button down that’s a size or two larger than you would normally wear and that comes to an inch or two (2.5 to 5 cm) below your waist.

2. Cut to length
Lay the shirt on a flat surface and line up the shoulder and side seams.
Cut straight across both layers of the button down about 4 inches (10 cm) below the armpit, so that you cut between two buttons.

3. Make the peplum
Mark and cut the excess fabric into a straight edged rectangle.

Leave the button and buttonhole plackets intact.

Set your sewing machine for a straight stitch at maximum length.

Sew two rows along the top edge of the rectangle. Leave both ends on one side free and secure the ends on the other side.
Turn up and stitch a narrow hem along the bottom edge.

4. Side seams
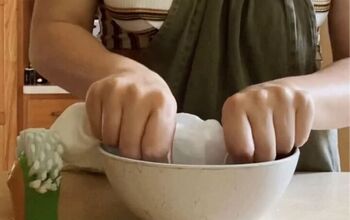
Pull on the free ends to gather the fabric and distribute the gathers evenly.

Turn the shirt wrong side out.
Mark 1 1/2” (3 cm) inside each side seam, or the width required for the shirt to fit you.
Reduce the width of the sleeve at the underarm and taper it into the sleeve seam.

Pin and sew the new side and sleeve seams and trim the excess fabric.

5. Attach the peplum
Turn the shirt right side out.
With the right sides facing, pin the gathered strip of fabric to the lower edge of the shirt.
Align the plackets and side seams and adjust the gathers to fit where necessary.
Sew in place below the gathering threads.
You can remove the buttons from the peplum if you prefer.

Cute DIY shirt upcycle
I think the result is a really cute top for spring.
It shouldn’t take you more than a couple of hours from start to finish.
What do you think? Please let me know in the comments below.
The author may collect a small share of sales from the links on this page.


Comments
Join the conversation