Quick and Easy Low Bun Tutorial for a Chic Look

Hey guys! Here’s an easy peasy low bun updo for you to try out with me. Just follow along with this step-by-step tutorial.
Upstyle Recommends!
Tools and materials:
- Hair elastics
- Bobby pins
1. Make a half ponytail
Start by collecting the top portion of your hair into a half ponytail, securing it with a hair elastic.
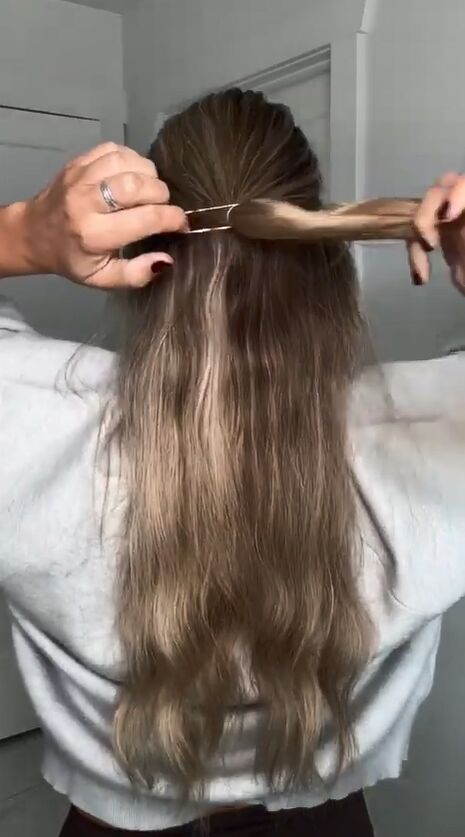
2. Make it a topsy tail
Make a gap above the elastic with your fingers and flip the tail through to create a topsy tail. Pull the tail to either side to tighten it.

3. Make a low bun
Collect all of the hair and start to make a low ponytail, but save the last twist of the elastic.
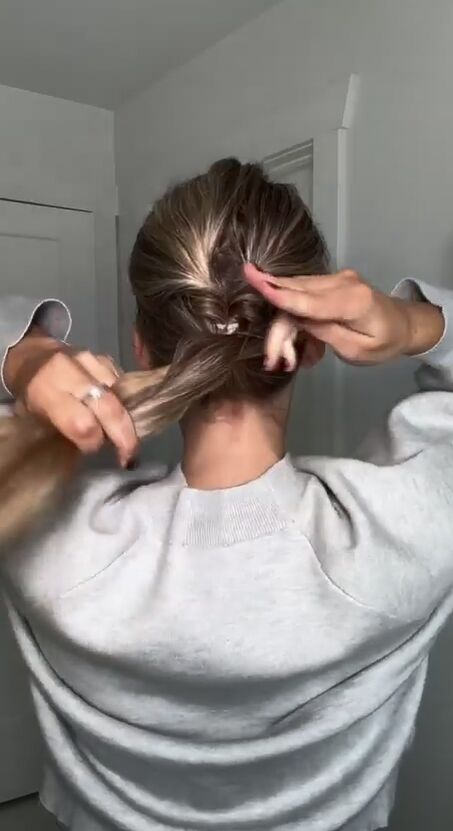
Then make a loop bun by pulling the tail partially through the final twist of the elastic. There should still be a significant tail trailing under this bun.
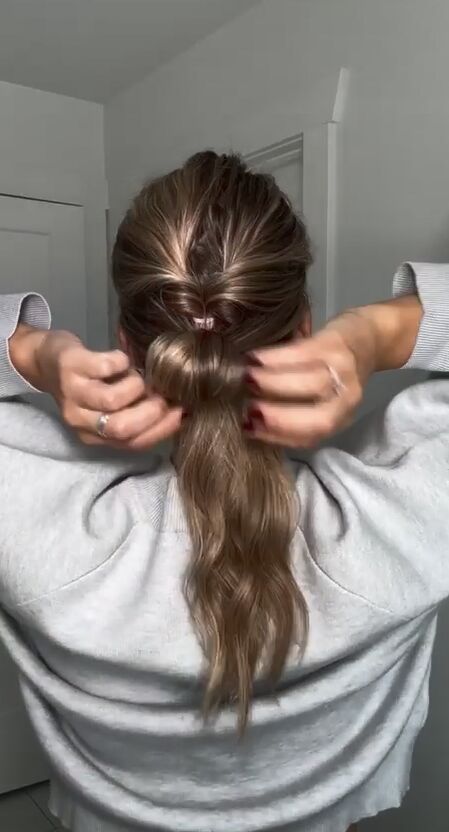
4. Halve the tail, twist each piece and cross them above the bun
Split the remaining tail in half.

Then twist each piece and bring them upward.

Cross them above the bun.
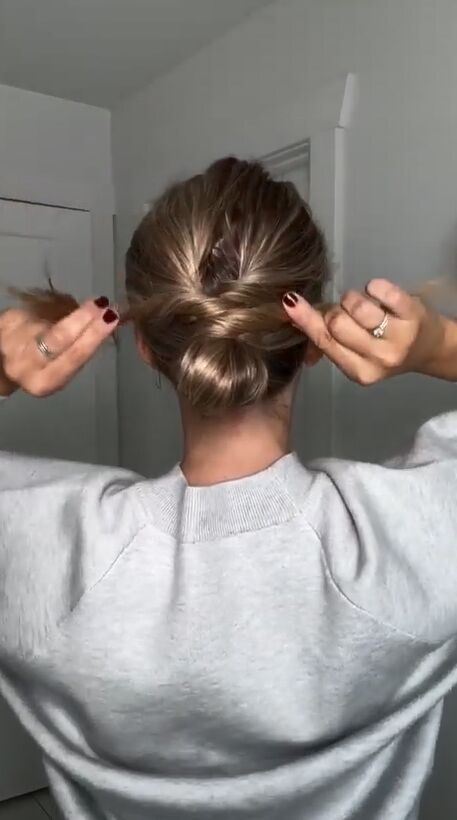
5. Tie the ends and secure them
Pull the ends under the bun and tie a single knot.

Tuck the remaining ends on the underside of the bun, into the elastic. You can use bobby pins too, if necessary.

6. Finishing touches
Pinch and pull at the easy low bun to add texture and give a more bohemian, undone feel.

Here’s the finished look of this easy peasy low bun:
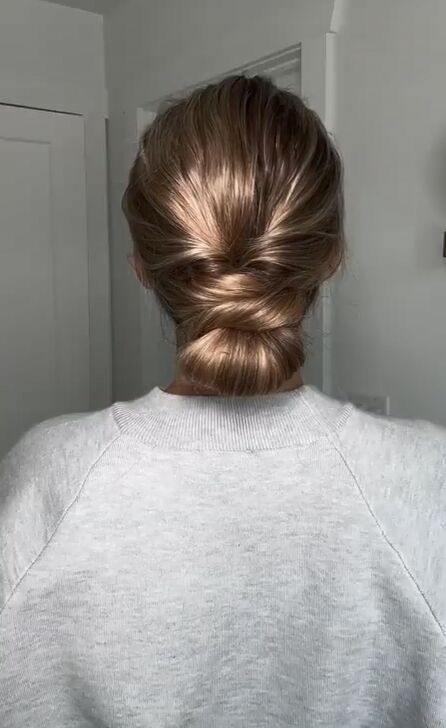

Easy low bun
Let me know in the comments if you’ll try out this easy low bun hairstyle!
Next up, try out these 6 cute and easy hat hairstyles for fall.
The author may collect a small share of sales from the links on this page.

















Comments
Join the conversation
I'm going to try this on Sunday since off work, to see how well it holds all day