Add Volume to Your Hair With an At-home Blowout

One of the easiest ways to add volume to your hair is with a blowout.
Achieving a salon-quality blowout at home is totally doable with the right tools and techniques. Here’s my step-by-step guide for smooth, voluminous hair that lasts for days.
Upstyle Recommends!
Want to save?
Get your 30-day free trial of Amazon Prime today before Prime big deal days on October 8-9th!
Tools and materials:
- Blow dryer with adjustable heat settings
- Heat protectant
- Round brush
- Detangling brush or comb
- Hair clips
- Pin curl clips
- Velcro rollers (optional)
- Hairspray (optional)
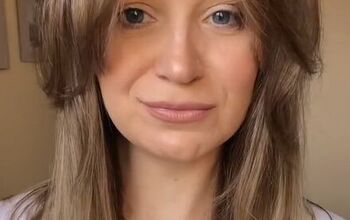
1. Prep the hair
I always start with damp hair. To protect my hair from heat damage, I make sure to apply a heat protectant before I begin. This helps keep my hair healthy and shiny throughout the blowout process.

2. Dry the roots first
I set my blow dryer to cool and focus on drying the roots first. Using my fingers, I create a little tension, especially since my hair isn’t naturally straight.
Drying the roots first makes sure they’re smooth without over-drying the ends, which are more delicate. After a minute or two, I switch to a medium or hot setting to really smooth out the roots.

3. Section the hair
Next, I divide my hair into small, manageable sections. Working in sections gives me a smoother, more polished finish.
Before blow-drying, I always detangle each section with a brush to make sure there are no knots or tangles that could mess up the at-home blowout.

4. Use a round brush
I place a round brush under the section of hair at the roots, then hold the brush securely as I blow-dry.
I focus on smoothing the roots and mid-shaft first by pulling the brush downwards.
This gets the hair sleek and smooth before I move on to the ends.

5. Smooth the ends
Once the roots and mid-lengths are smooth, I start working on the ends.
Since they dry faster, I switch to the cool setting on my blow dryer to gently smooth them out without causing any heat damage.

6. Pin curls for extra hold
After blow-drying each section, I wrap the hair around two fingers to create a pin curl, securing it with a clip. This locks in the style and makes sure my blowout lasts for days.

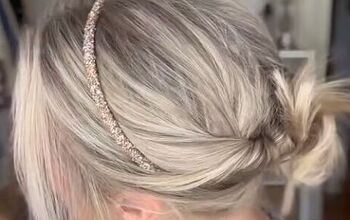
7. Add volume at the top
For the top sections of my hair, I like to create a bit of volume by smoothing the roots while leaving some texture.
That balance between smoothness and texture gives me the bounce and fullness I want from a blowout.

8. Final cool set
Once all the sections are dry and pinned, I use the blow dryer on the cool setting to set everything in place. This keeps the curls from falling flat too soon and helps the style hold.

9. Unpin and style
When I’m ready, I carefully unpin each curl and shake out my hair. For that big, voluminous look, I like to run my fingers through my hair and toss it around to add movement and texture.

Add volume to your hair with an at-home blowout
With this method, my at-home blowout lasts for days. The best part is that my hair gets smoother and shinier as the natural oils from my scalp work their way through the hair.
The author may collect a small share of sales from the links on this page.


Comments
Join the conversation