Cute and Easy DIY Cardigan Upcycle

Hey guys! I’m about to show you how to upgrade an old garment to make this cute, DIY cardigan. It’s quick and perfect for beginners. Let’s get started!
Tools and materials:
- Old cardigan
- Ribbon (about 2 inches wide)
- Fabric scissors
- Optional: silk fabric, ruler, white fabric pencil
- Pins
- Sewing machine (or just a needle and thread!)
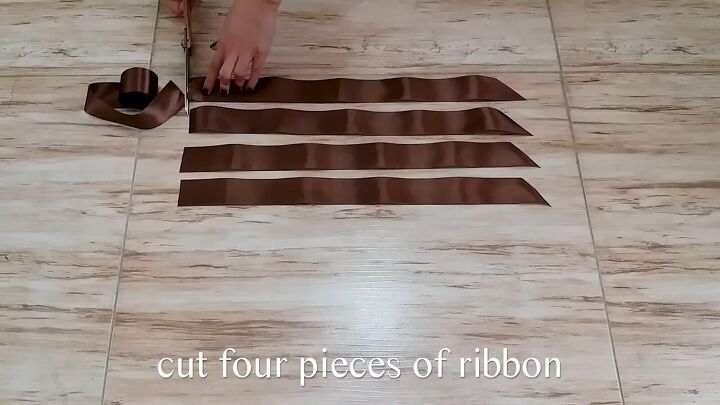
1. Cut 4 pieces of ribbon
Each should be about 1 foot long. One edge should be straight, the other diagonal. Alternatively, you can make your own ribbons from a silk fabric.
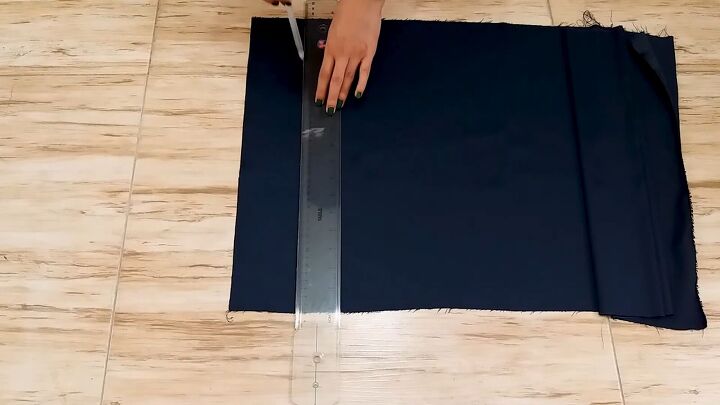
2. DIY ribbons
Measure and cut a rectangle.
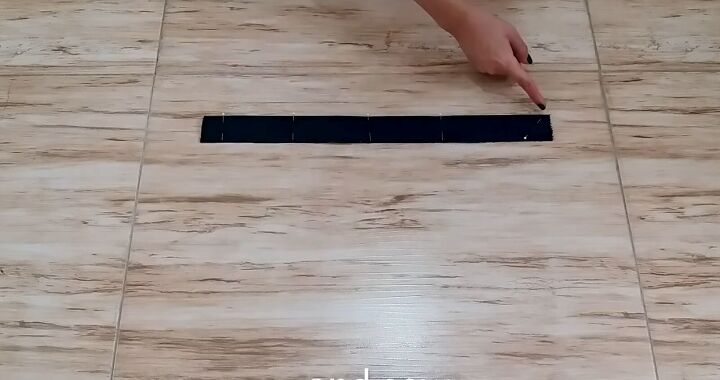
Fold in half with the correct side folded in. Then secure with a few straight pins. Using one of the pins, mark a diagonal at the end and sew.
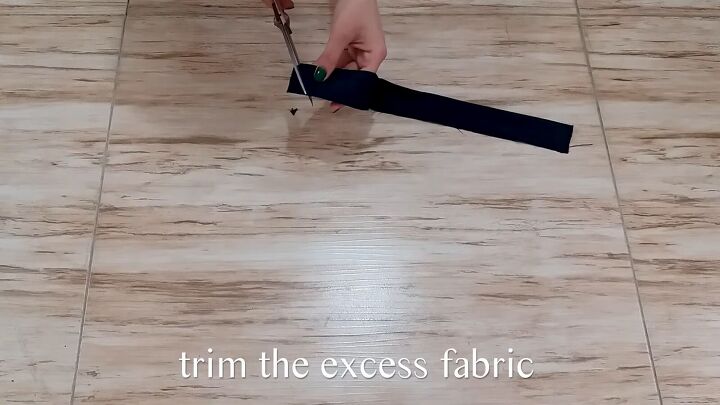
Trim off any excess fabric beyond the diagonal.
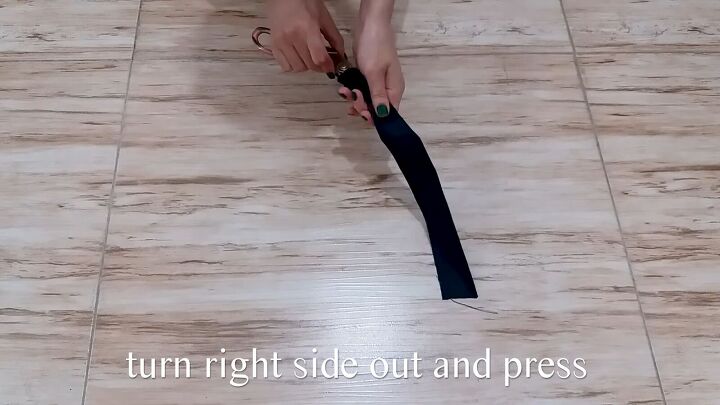
Next, turn your DIY ribbon right-side out (I used my scissors to help) and then iron.
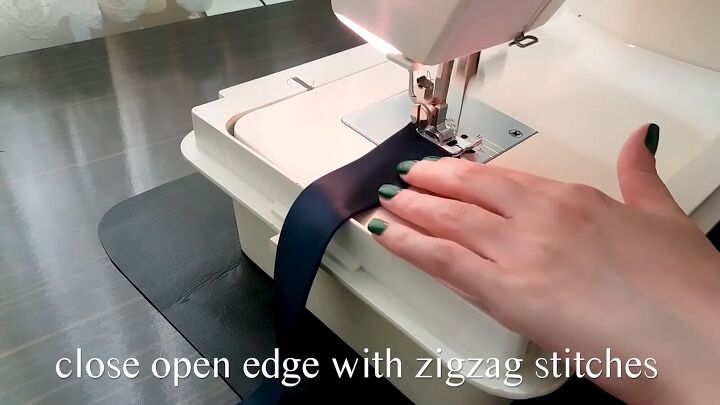
Sew the open end with a zigzag stitch.
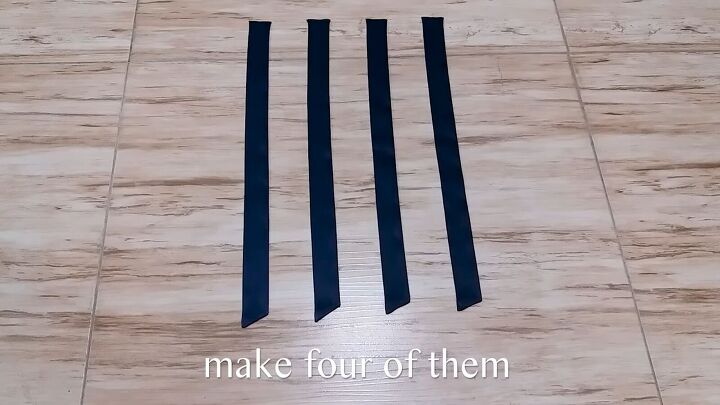
Repeat this for a total of 4 DIY ribbons.
3. Prepare the cardigan
Try on your cardigan. Open the buttons until the sleeves can be pulled off the shoulders.

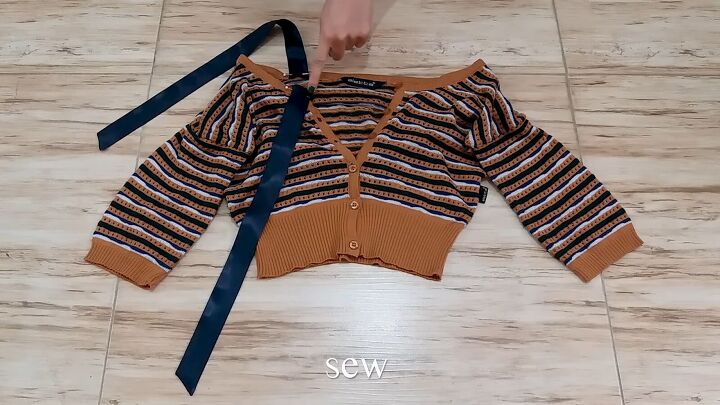
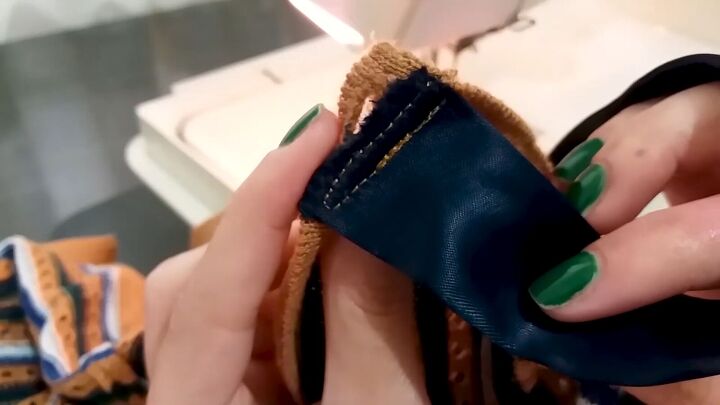
While wearing the cardigan, pin the first strap to the front.

Pin another strap at the back, in line with the front strap. Then sew on the straps.
To sew the straps, create a narrow rectangle, like this:
Repeat the same process on the other side.
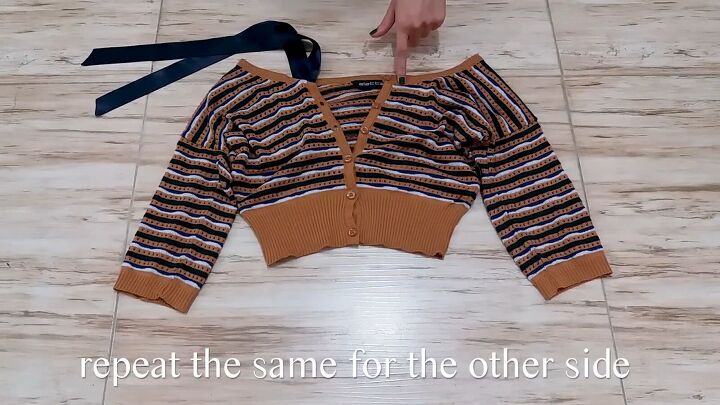
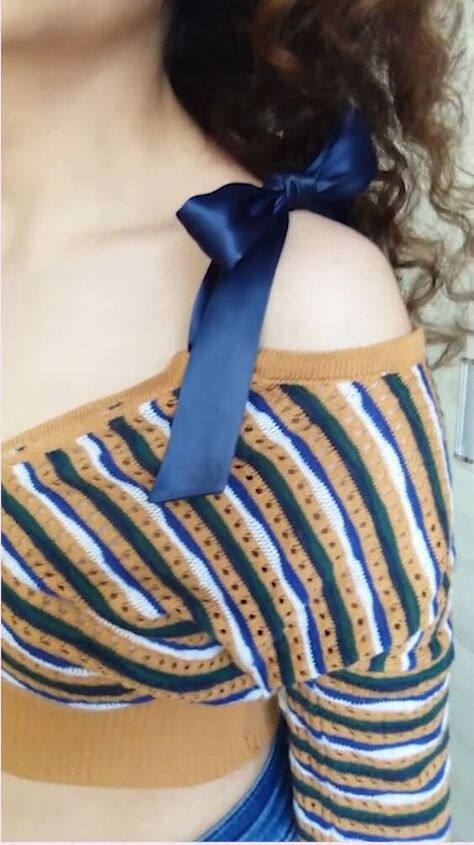
Finally, try on your sweater, tying bows at the shoulders.

DIY cardigan
Here’s the final look for this brown cropped cardigan. What do you think of this fun clothes makeover?

Grab your old sweater from the giveaway pile and show us your DIY cardigan in the comments below!
The author may collect a small share of sales from the links on this page.


Comments
Join the conversation
Us women should be dressed better. The sweater was just fine. We are not low class ladies.