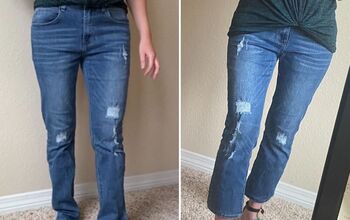
Upgrade Any Thrifted Jeans With This Cheap and Easy DIY

Here’s a neat way to upgrade any pair of jeans!
You’ll need three square bandanas in coordinating colors. They can all be the same pattern, or you can mix and match them.
Now follow along to see how I use them.
Tools and materials:
- 3 square bandanas
- Jeans
- Fabric glue
- Fabric marker
- Ruler
- Scissors
- Pins
- Iron
- Sewing machine

1. Cut the patchwork squares
Lay the three bandanas on top of each other.
Mark and cut them into quarters.
Measure accurately for the best effect.

Cut off the plain band around two sides of each square.

2. Join the squares
You have 12 squares to arrange in groups of four.
Plan your design out first.

With the right sides facing, pin and sew the squares together in pairs.

Sew the two pairs together along the long edges, making sure the right sides are facing and the seams are aligned.

Press the outer edges of the large square to the wrong side by about 1 inch (2.5 cm).
Repeat for the remaining eight squares.

3. Glue the squares
Grab your favorite fabric glue.

Apply a thin strip of the glue to the folded borders and along the seams on the wrong side.

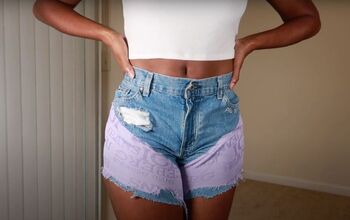
4. Apply the patches
Lay the jeans on a flat surface.
Place the patches on the legs of the jeans and carefully smooth them into place.

I like to place them at an angle and wrap some around to the back of the legs.
Allow the glue to dry.

Cute DIY bandana jeans
I only ended up using two of the large patches on my cut-offs.
You can use any cotton fabric squares for this, even samples.
Drop me a comment below and let me know what you think.
The author may collect a small share of sales from the links on this page.


Comments
Join the conversation