How to Make a Quick & Simple DIY Denim Tote Bag Out of a Jean Skirt

Do you have an old denim skirt you no longer wear and want to upstyle? Follow this denim tote bag DIY tutorial to transform your old skirt into a tote bag that you’ll be thrilled to use every day! It’s lined so it will be sturdy, and you can make hand or shoulder straps for it.
Tools and materials:
- Old denim skirt
- White decorative fabric
- Gingham lining fabric
- Strap fabric
- Scissors
- Marker
- Ruler
- Thread
- Sewing machine with zigzag foot

1. Make the front of your denim tote bag
Cut open one side seam of your skirt and lay the skirt fabric flat on your work surface.
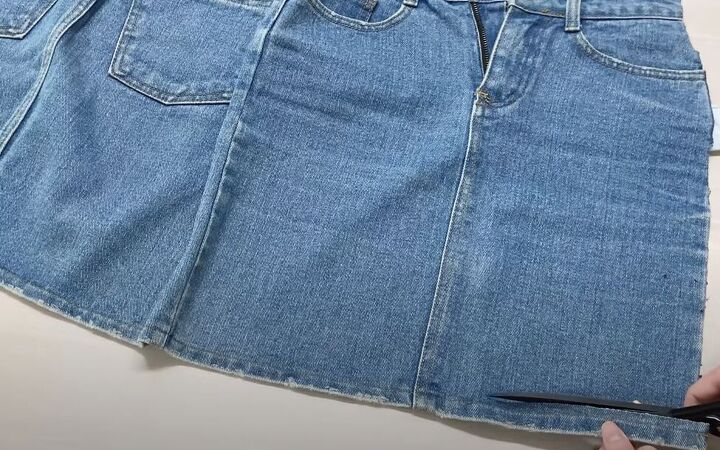
Now cut off the bottom hem, but don’t discard it. It’s going to turn into the strap of your tote bag!

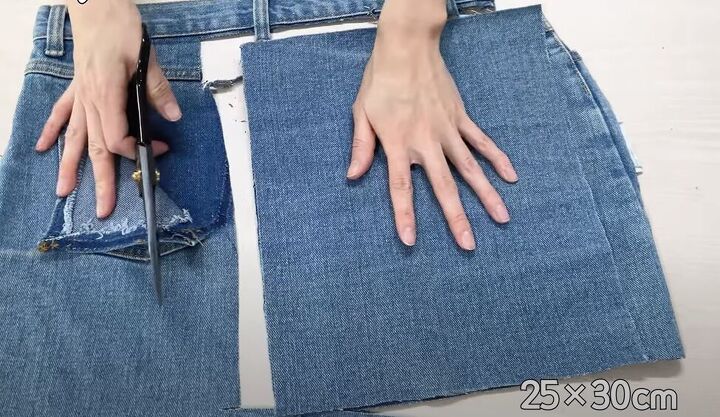
On the two front panels of your skirt, mark and cut two rectangles, making one wider than the other.
The narrower rectangle should be cut from the panel that has the front panel with the zipper flap (but don’t include the flap in your rectangle.)
When put together, the total dimensions of the rectangle should be 25 x 30 centimeters (9.8 x 11.8 inches) plus seam allowance.
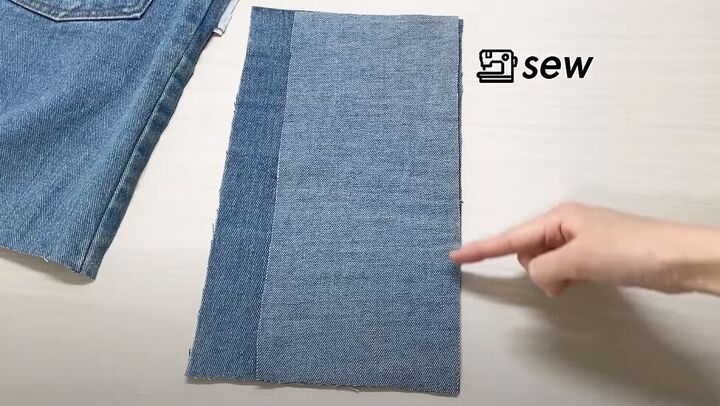
Place the two rectangles together, right sides facing, with one long edge aligned. Sew along the aligned long edge.
Then open the piece and flip it right side out. Keeping the seam allowance flat, topstitch on both sides of the seam.
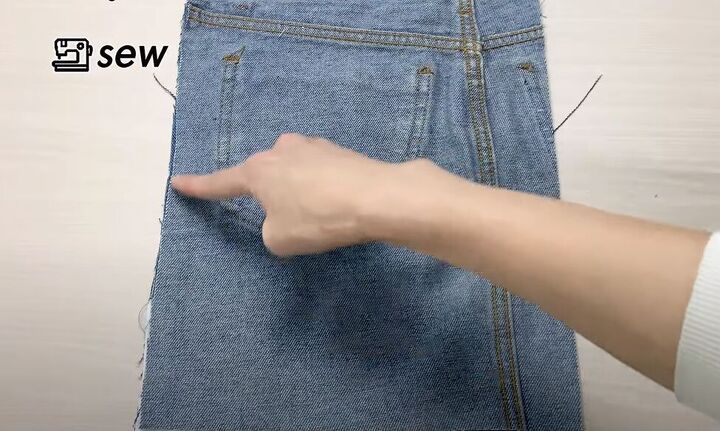
2. Make the back of your denim tote bag
Lay your 25 x 30-centimeter (9.8 x 11.8 inch) rectangle on top of your remaining fabric and cut and second rectangle the same size, with your skirt pocket in the center of the rectangle.
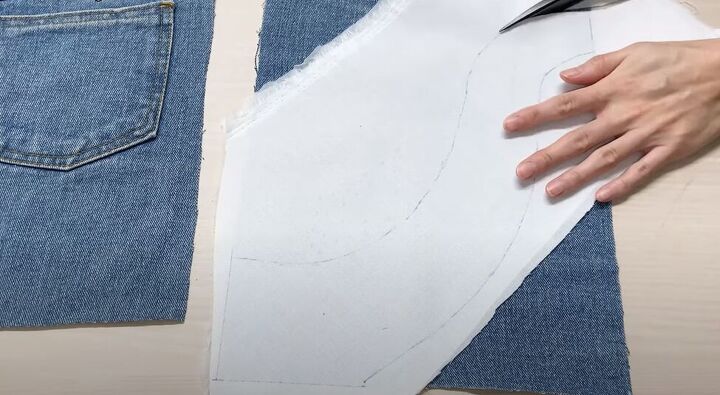
3. Create a leaf pattern for the front
On a piece of white fabric, hand-draw and cut out the decorative pattern shown in the video at 2:04.
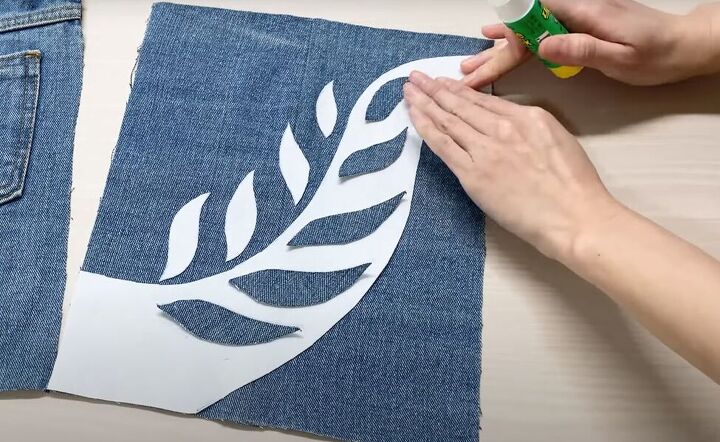
Lay that decorative piece on top of the front piece of the tote bag. From the remaining decorative fabric draw and cut out leaf patterns. Also, cut some leaf patterns from your extra denim fabric.
Glue the decorative white fabric pieces to the denim rectangle, and glue the denim leaves onto the large decorative white piece.

Set your sewing machine to the stitch type and size shown above.
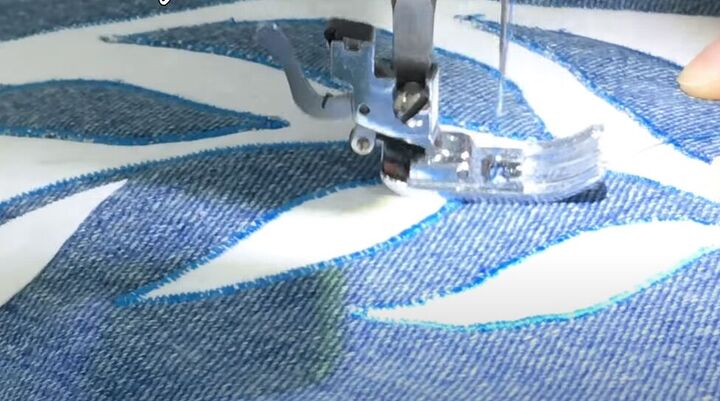
Topstitch all the decorative pieces in place.
4. Attach front and back
Sew the front and back pieces together, right sides facing, along the bottom and both sides.
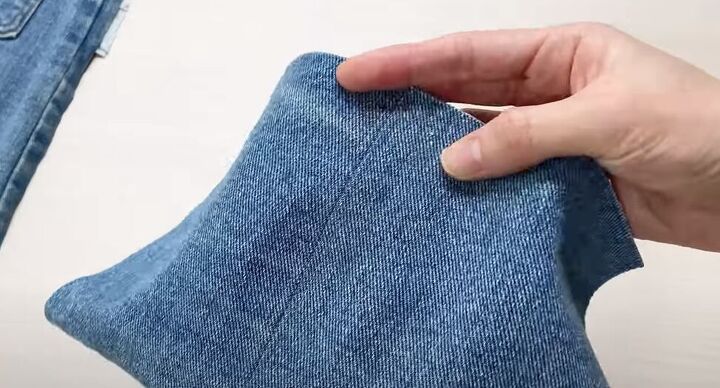
5. Make tote bag corners
Mark the side seams at 5 centimeters (2 inches) from the bottom of the bag and Sew across the side seams to make corners. Trim the excess fabric from the corner.

6. Make the lining
Cut a piece of gingham fabric 25 x 58 centimeters (9.8 x 19.6 inches) for the tote bag lining. Fold the fabric in half widthwise and sew the side seams together.
Create the same 5-centimeter (2 inch) corners on the lining piece as you did on the tote bag.
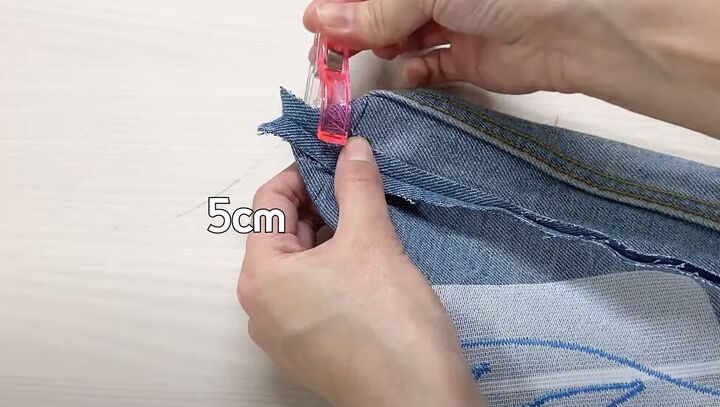
7. Make the straps
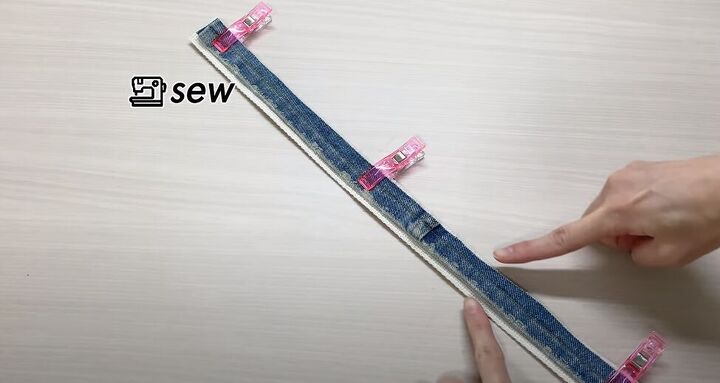
Cut a piece of white scrap fabric the same length and slightly wider than the hem you previously cut off the skirt.
Lay the skirt strap fabric on the white strap fabric and sew along both long edges to attach.

Cut your tote bag strap in half widthwise so you have two straps. Pin one strap to each side of the bag, 5 centimeters (2 inches) in from the edges.
With right sides together sew the straps to the tote bag.
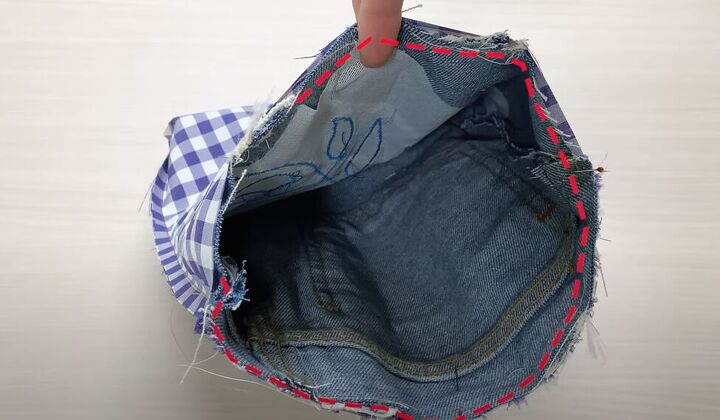
8. Attach the lining
With right sides facing, Insert the tote bag into the lining and sew to attach along the top open edge.
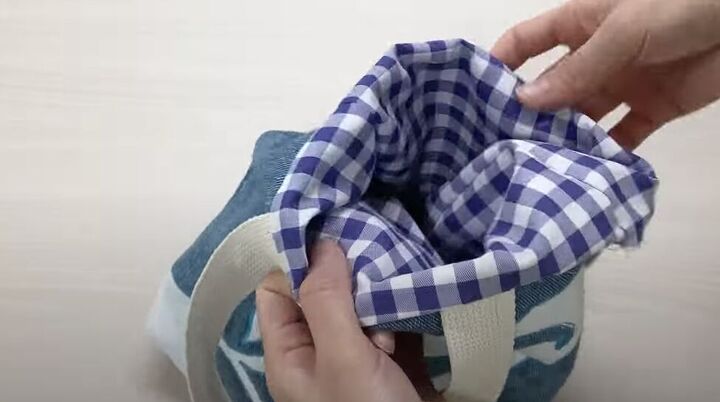
Now pull the tote bag out from the lining and push the lining back inside the tote bag.

Pin the top edge of the tote bag and lining flat and top stitch around the edge to keep the lining in place.

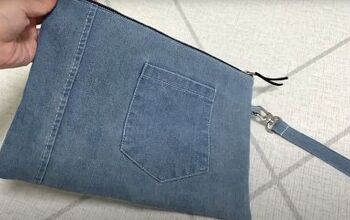
DIY denim tote bag tutorial
How cute is this? Since it’s lined, this tote bag is very versatile, and you can use it to carry all kinds of things.
Let me know in the comments how your DIY denim tote bag turned out and what your favorite use for it is!
The author may collect a small share of sales from the links on this page.


Comments
Join the conversation