Check Out My Upcycled Button-up Dress

I love upcycling! A friend of mine gave me his old button-down shirt and I immediately felt my creative juices start to flow! I decided to totally refashion the shirt into a gorgeous button-up dress. I am so excited about my new dress and I still can’t believe I made it from a men’s shirt. If you want to learn how I made this amazing fashion transformation, my tutorial is definitely for you! Follow a few simple, easy steps and you could soon have your hands on an absolutely amazing button-up dress.
Tools and materials:
- Button-down shirt
- Ruler
- Marker
- Scissors
- Pins
- Sewing machine
Upstyle Recommends!
Cut the shirt
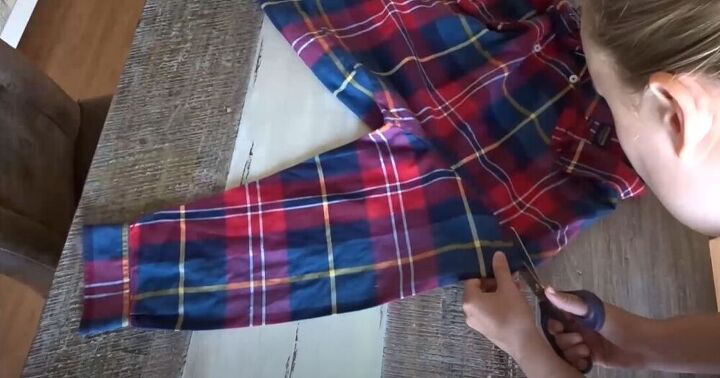
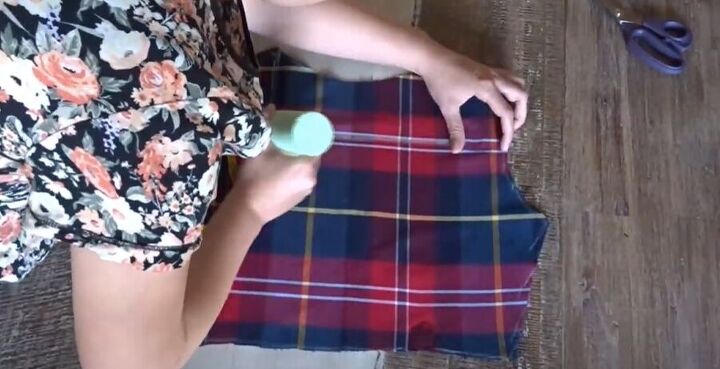
To get started on this awesome upcycle, I removed the pocket from this men’s shirt and also cut off the sleeves.
I then opened the sleeves up and cut off the cuffs because I wouldn't need them for my stunning new dress.
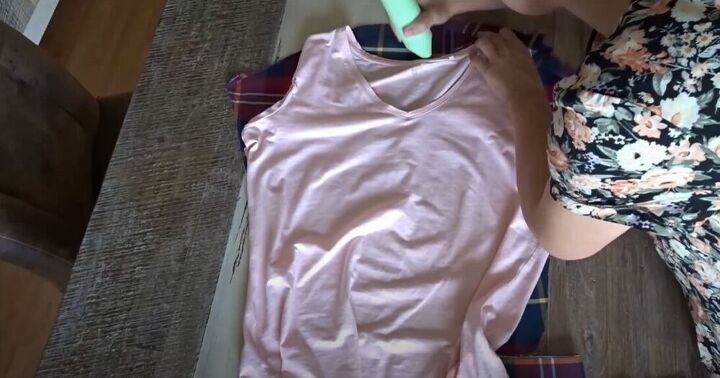
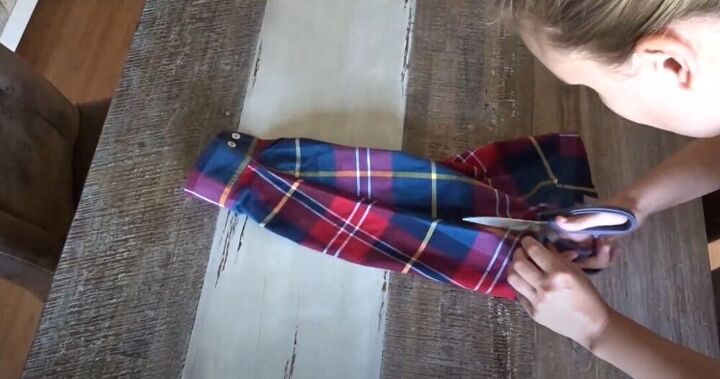
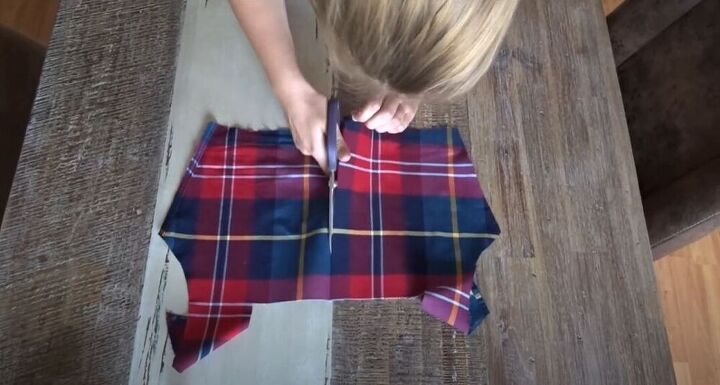
Next, I used one of my best fitting T-shirts as the pattern. I placed it on the opened up sleeve and made sure to tuck in the sleeves on the T. I then traced the sleeves and the neckline onto the fabric. I used my scissors to cut the fabric.
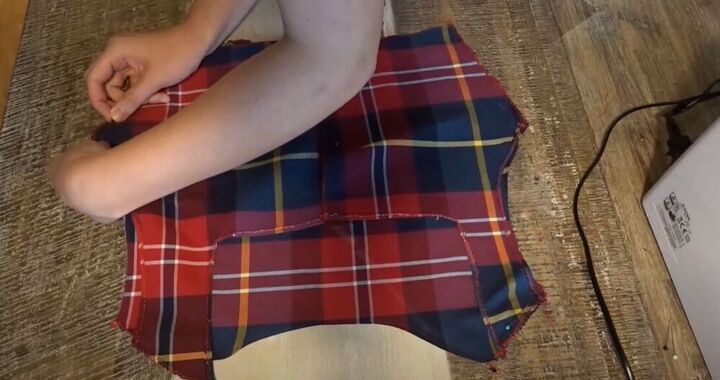
I copied my new bodice piece onto the other opened up sleeve and cut it out.
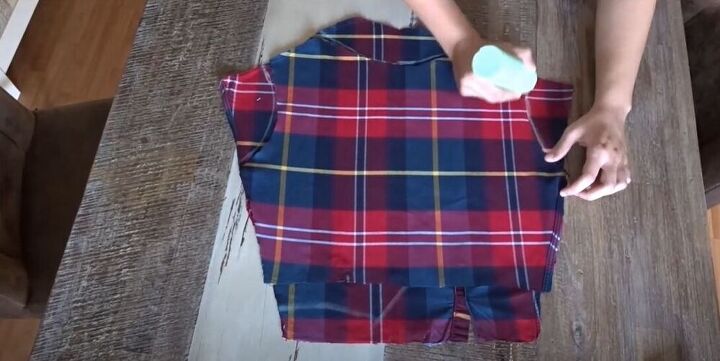
To get the perfect square neckline for my new dress, I measured 5.5 inches from each shoulder seam and joined the points. I then simply cut out the square.
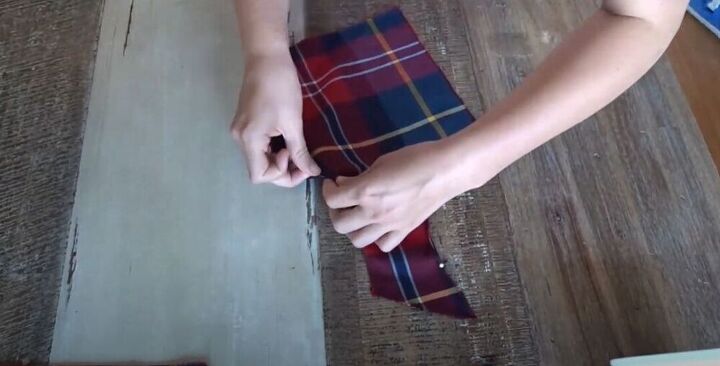
I then cut this front bodice piece in two because I really wanted to add the beautiful button-up feature to my dress.
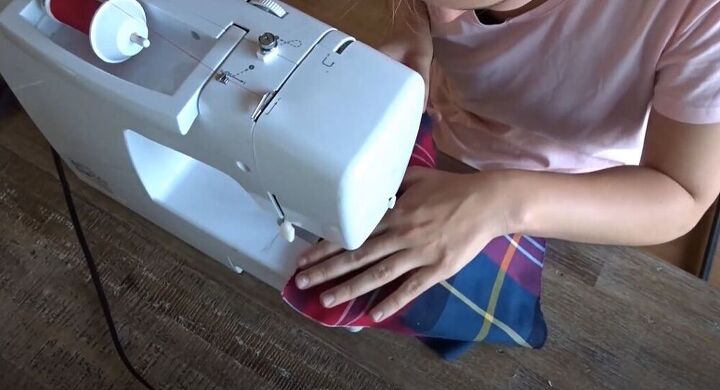
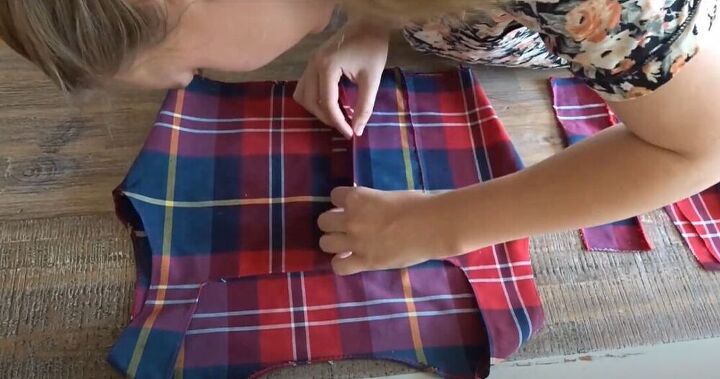
I hopped on over to my sewing machine and sewed a zig-zag stitch around the edges to protect the fabric from fraying.
Next, I hemmed the neckline and the sleeves on both bodice pieces for a nice finish.
I then placed the front bodice pieces, over the back bodice piece, right sides together, and pinned and sewed the sides and shoulder seams with a straight stitch.
I tried on the bodice and realized it was too small. There was no need to panic! I just measured and cut two extra pieces of fabric and attached them to the front bodice.
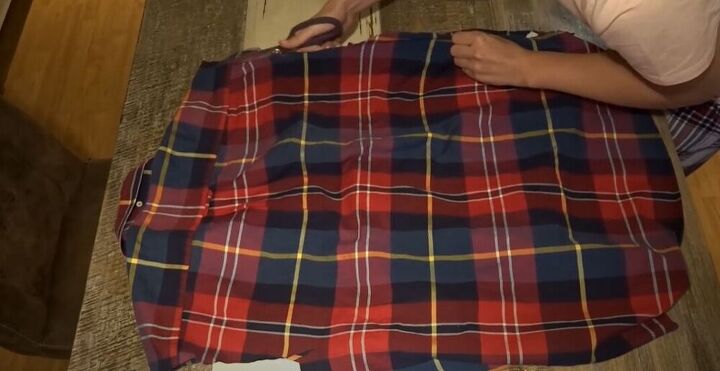
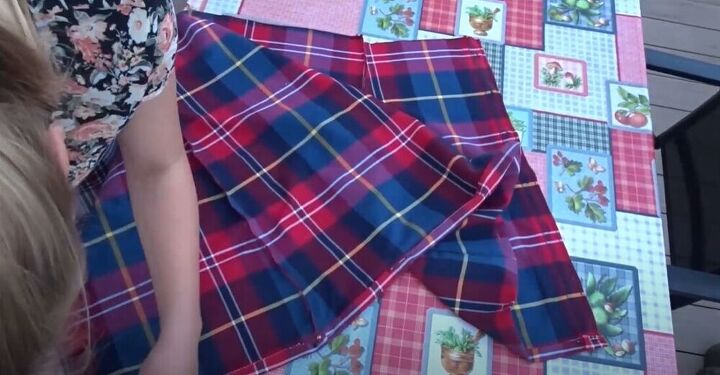
I put the bodice to the side so that I could focus on working on the skirt for my new dress. I cut open the sides of the men’s shirt and removed the collar so that I could make an A-line skirt.

Working with the fabric from the back of the shirt, I drew two diagonal lines along the sides and cut along them to create the perfect skirt shape. I then repeated the same step for the front piece of the shirt.
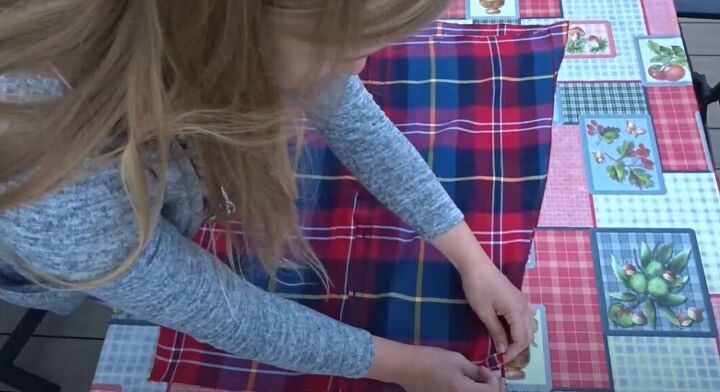
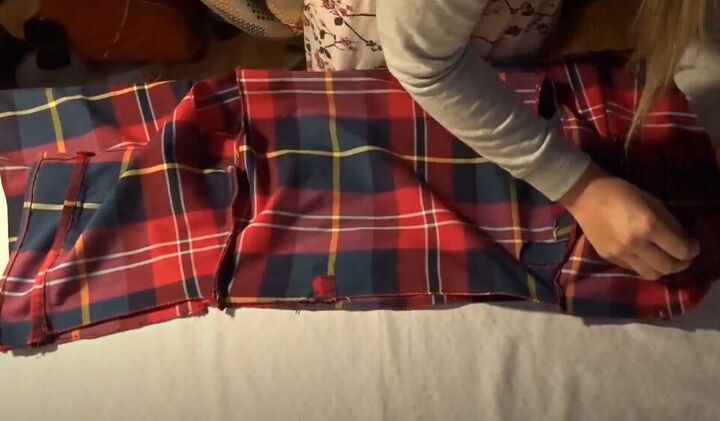
I laid the three skirt pieces, right sides together and pinned them in place. I then made sure to sew the pieces together.
My skirt was coming together beautifully! I hemmed the bottom to give the dress a nice, clean finish.
I laid my pieces right sides together and pinned along the edges. I then sewed my fabric into an amazing dress.
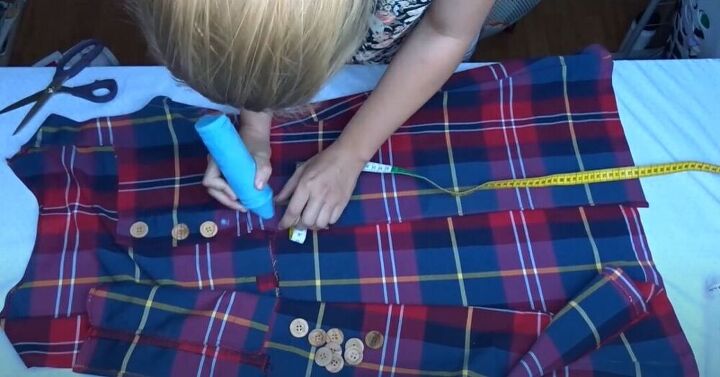
I like to make life harder for myself and I chose to add some bigger buttons onto the dress but you can totally leave the original buttons of the shirt. If you want to see how I replaced the buttons go to 5.43 in the video.

I am totally obsessed with this upcycled dress! How would you style this piece? Let me know in the comments below!
The author may collect a small share of sales from the links on this page.


Comments
Join the conversation
Looks nice. Cute idea but I’m curious how the raw edges of the arm and neck openings held up in the wash with just a zigzag stitch around them. I think I would add a facing or bias tape to prevent raveling and give a more finished look.