Three Quick and Easy DIY Hair Accessories

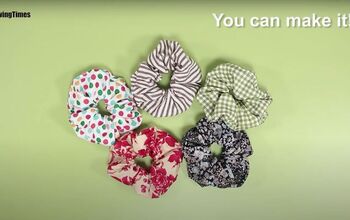
Today I’m going to show you a few quick and easy ways to enhance some of your hair accessories. Additionally, I’ve been seeing these super-cute hair scrunchies with tails all over Pinterest recently, and I’m going to show you how to make one of your own.
Tools and materials:
- Claw clip
- Flatback pearl beads
- Hot glue gun
- Wire headband
- Fabric
- Fabric glue
- Scissors
- Hair elastic
- Needle and thread
First project: Claw clip
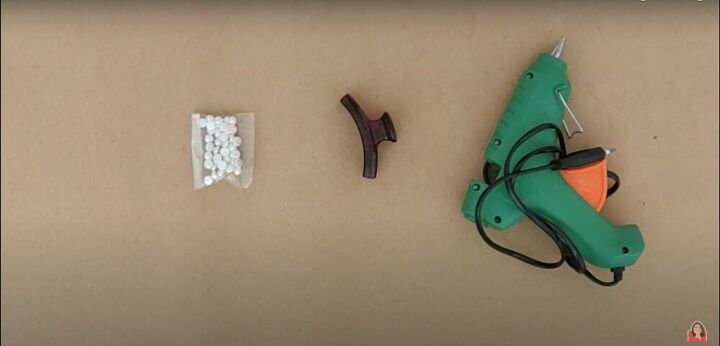
For this project, you will need flatback pearl beads, a claw clip, and a glue gun.
Glue beads onto the clip
With a glue gun, attach the pearl beads along the side of a claw clip. Repeat on both sides.
The final look for this DIY claw clip is beautiful and classic.
Second project: Bow headband
For this project, you will need a wire headband, fabric, scissors, a glue gun, and fabric glue.
Cut a rectangle
Estimate how wide you want your bow to be, and cut a rectangle that is twice that width.
Glue the edges
Apply fabric glue along the edges of the rectangle, on the right side of the fabric.
Fold the rectangle in half over the glue, right sides together, sealing the open edges.
Cut a hole
In the center of one layer of the rectangle, cut a small hole.
Turn the fabric right side out
Pull the fabric of the rectangle through the hole in the middle until the right side of the fabric is on the outside.
Cut a strip of the same fabric
Cut a strip from the same fabric as the rectangle to tie around the middle of the bow.
Scrunch up the fabric
Make a few folds along the length of the rectangle, and pinch it in the middle to create the shape of the bow.
Tie the bow in the middle
Tie the strip of fabric around the middle of the bow, and arrange everything so it looks even and neat.
Cut the excess fabric
Cut the excess fabric off the ends of the strip in the middle of the bow.
Attach the bow to the headband
Apply some glue from a hot glue gun to the back of the bow, in the center. Press the headband onto the area with the glue. Apply more glue to secure the headband to the fabric.
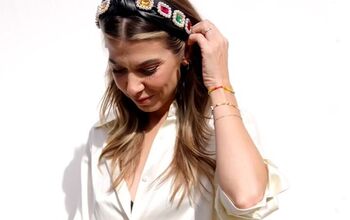
And your adorable bow headband is complete!
Third project: Scrunchie
For this project, you will need fabric, a needle and thread, scissors, and a hair elastic.
Cut the fabric
Determine how wide you want the fabric on the scrunchie to be, and then cut a long piece of fabric twice the width you prefer.
Scrunch up the fabric
Lay the strip of fabric flat and gather it from both ends until it is folded like a bow.
Insert the fabric through the hairband
Pull the folded fabric through the center of the hairband until the hairband is resting in the middle.
Sew the edges together
Fold the fabric over the hairband, right sides facing, and sew the edges of the fabric together along the raw edge, starting in one corner and continuing all around the hairband.
Once it’s complete, you should have a circle of fabric with two open edges.
Turn the fabric right side out
Pull the fabric through one of the open edges, working it over the hairband until all the fabric is right side out.
Pull the seam toward the center
All around the circle, pull the fabric from the center of the scrunchie out towards the edge, so the smooth fabric is at the edges and the seam is now in the center.
Close up the gap
Use a ladder stitch to sew the open edges together.
Cut a strip of fabric for the tails
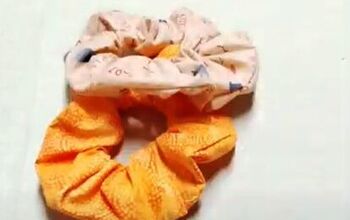
Cut a triangular strip of fabric from the same fabric or a contrasting fabric, and tie it to the completed scrunchie.
Enjoy your new hair accessory!
If you enjoyed this tutorial, let me know! I’d love to see how these projects came out for all of you.
Enjoyed the project?
Suggested materials:
- Claw clip
- Flatback pearl beads
- Hot glue gun
- Wire headband
- Fabric
- Fabric glue
- Scissors
- Hair elastic
- Needle and thread
The author may collect a small share of sales from the links on this page.





Comments
Join the conversation