Trend Alert: Super Glam Hair Pearls Tutorial

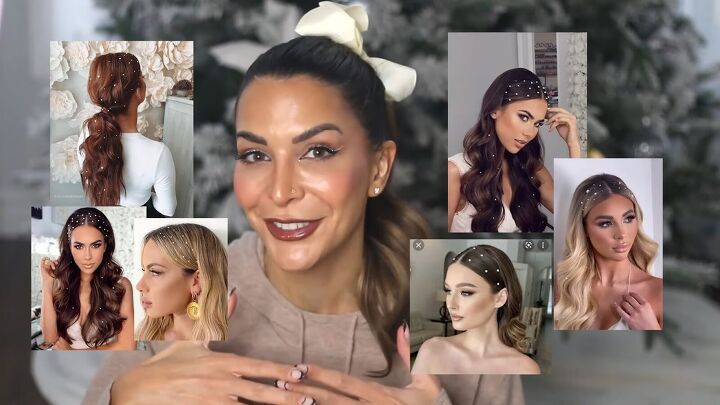
There is a hot, new hair trend that I have been seeing EVERYWHERE! "Pearl Scattering" is blowing up TIKTOK and I can see why.
Pearls on hair can make looks for an event or a wedding true pieces of art.
Follow along to learn how to create this pearl trend, with a sleek-front, Hollywood wave style that’s perfect for the holiday season!
Tools and materials:
- U part wig
- Large claw clip
- Tiny hair elastics
- Wet hair brush
- Frizz cream
- 2 bobby pins
- Hairspray
- Fine toothed comb
- Curling iron (1 ¼”)
- Pearls with adhesive
- Eyelash glue
- Tweezers
1. Attach a U part wig (optional)
If you have short hair, this is your starting point. If you have long hair, skip this step.
I’m using a U part wig, where the top section of your hair is exposed, while the rest is hidden under the wig cap.
I recommend this wig type especially to those who have particularly short or thick hair, since it allows your hair to blend into the faux hair.
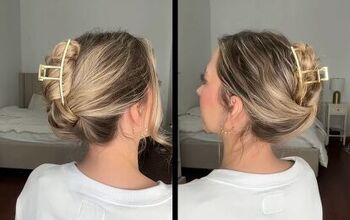
To attach the wig, start by sectioning off the hair that’s going to be on the top. Secure it with a claw clip.
Then use tiny hair elastics to create four small ponytails — two on each side of your head, as anchoring points for the wig.
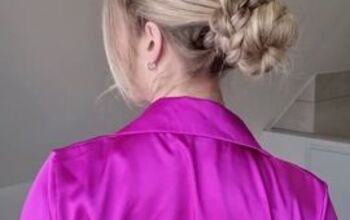
Then tie the rest of your hair in a low bun.
Next, attach the combs of the wig cap to those anchoring spots.
2. Part your hair in the front only
Take down the clipped, top portion of your natural hair to cover the wig.
Then create a straight part until about a ⅓ of the way down, brushing the hair sections to each side.
3. Make the front sleek
Apply frizz cream to the front portions of your hair to give a sleek look.
Then use two bobby pins to hold the hair right behind each ear.
4. Reinforce
Apply spray to hold everything in place.
Then brush the spray through using a fine toothed comb.
Make sure to brush the front portions to the sides and the rest of the hair to the back.
5. Create a soft, Hollywood wave
Using a 1¼” curling iron, curl the waves away from the face on either side, splitting the hair in the middle at the back.
To do this, just lay the roots of the hair flat on the barrel.
As you twist around the barrel, you end up with S-shaped waves as opposed to the more dated looking ringlets.
Move around the hair, section by section, about 1” each, using this same curl technique in the exact same direction each time.
Once the hair is 100% cooled down, gently brush out the curls using a wet brush that includes natural bristles in it.
For even more volume, take those waves and back-comb from underneath with the same brush. See the video at 4:20 for this technique.
This will expand and puff the waves even more.
6. Apply the pearls
Now for the fun part. I wasn’t sure the adhesive on the pearls would hold all night, so I used eyelash glue as well.
Full disclosure: this part is tricky because the adhesive tends to stick to the tweezers. Take a deep breath and you can do it!
First place the eyelash glue on your hair where you want the pearls to go.
In hindsight I would recommend that if you have dark hair like mine, use black eyelash glue instead of this regular kind that dries clear.
Then drop the pearls in place with the help of tweezers or nail scissors.
When you’re finished applying the pearls, spray the area once more with hairspray to seal everything in place.
Here’s the finished look for this hair with pearls trend:
Pearls in hair trend
Are you going to try this glamorous, pearls in hair trend? If so, show us your results in the comments below.
If you liked this tutorial and are looking for more beauty ideas, check my post on Hot Tips on How to Look Good Without Makeup.
Enjoyed the project?
Suggested materials:
- U part wig
- Large claw clip
- Tiny hair elastics
- Wet hair brush
- Frizz cream
- 2 bobby pins
- Hairspray
- Fine toothed comb
- Curling iron (1 ¼”)
- Pearls with adhesive
- Eyelash glue
- Tweezers
The author may collect a small share of sales from the links on this page.







Comments
Join the conversation
Such a pretty look!