How to Sew a Cute and Easy Pouch From Fabric Scraps

These cute mini pouches are easy to make from scraps. They make great gifts or sew to sell items for your craft stall or store.
I’m going to show you exactly how to sew a pouch and I’m giving you the pouch sewing pattern free in the instructions.
Tools and materials:
- Cotton linen outer fabric
- Cotton muslin for flap
- Cotton lining fabric
- 1 set plastic snap buttons
- Snap setter tool
- Bradawl
- Fabric marker
- Ruler
- Measuring tape
- Scissors
- Fabric clips
- Iron
- Sewing machine

1. Cut out the fabric pieces
You will need to cut one 9 inch (23 cm) square from both the linen outer fabric and the lining.
You also need one 3 1/8” by 2 3/8” (8 cm by 6cm) piece from the outer fabric for the carrying loop and one piece 6 1/4” by 5 1/2” (16 cm by 14 cm) cut from the muslin for the flap closure.
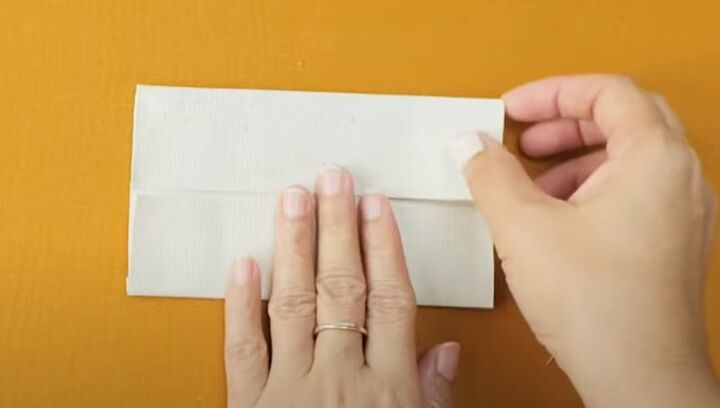
2. Flap closure
Fold the muslin piece in half widthways with the wrong side inside.
Open out and press the shorter edges to the center line.

Fold in half widthways with the open edges inside and press.
Top stitch around the folded edges.
If you have a label, attach it to the flap now.

3. Make the carrying loop
Fold the smallest piece of linen in half lengthways with the wrong side inside.
Open it out and fold the long edges to the center line, as you did for the flap.
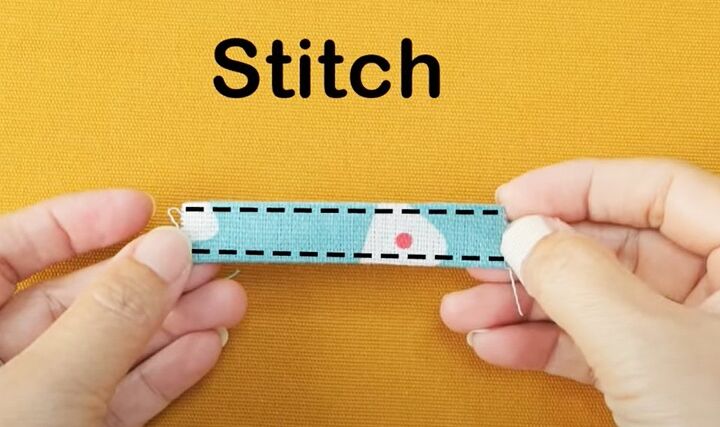
Fold it in half again lengthways and press.
Top stitch the two long edges.
4. Sew the main pouch
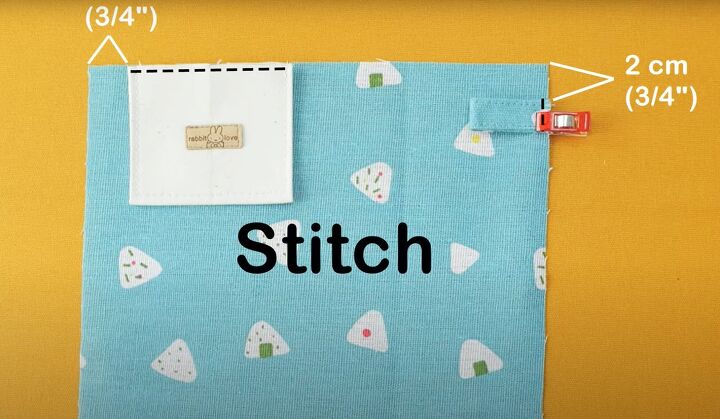
Fold the loop in half widthways.
Clip it to the right side of the main linen pouch piece, 3/4” (2 cm) from the top corner and with the open edges aligned with the side of the square.
Attach the flap to the top edge, 3/4” (2 cm) from the opposite side.
Sew the open edges of both in place.

Place the lining and pouch together with the right sides facing.
Sew around all four sides, leaving a small opening on the edge below the loop.

Trim close to the stitching, leaving the seam allowance around the opening uncut.

Fingerpress the edges of the opening to the wrong side.

Turn the pouch right side out and press well.
Fold the flap and loop out of the way and top stitch around the edges of the pouch.
5. Make the pockets
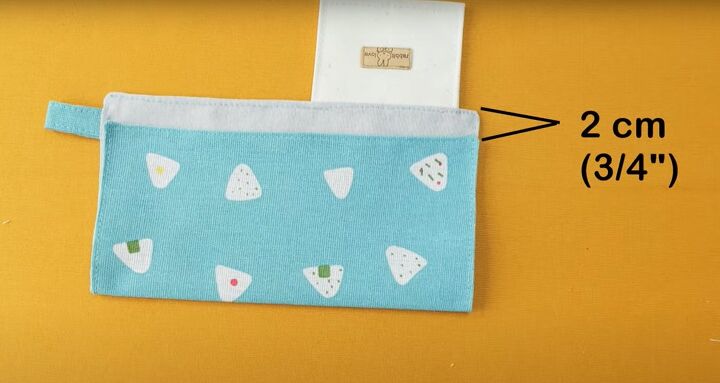
Turn the pouch over so the lining is uppermost.
Fold the lower edge up towards the flap.
Leave a 3/4” (2 cm) gap between the lower and top edges.
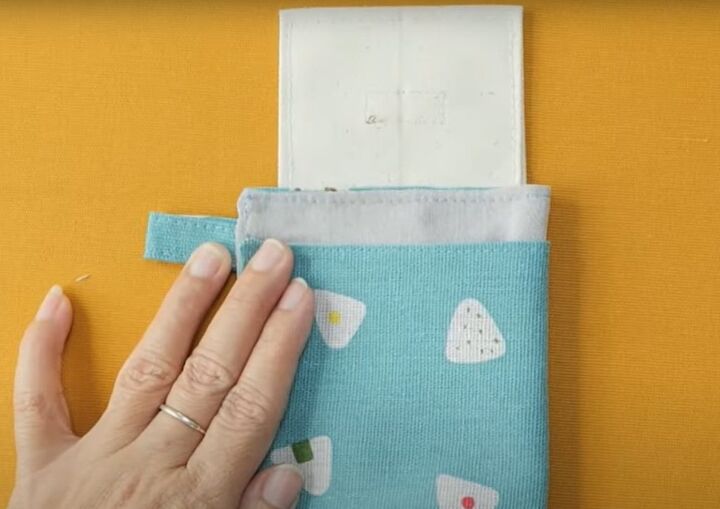
Turn the pouch over and fold in half widthways, so the loop is below the flap.

Holding the open edges together with one hand, slide the edge of your ruler or a similar straight edge into the fold and pull it taut, to make a sharp crease.
Press the crease well.

Top stitch around the side and lower edges of the pouch.

6. Attach the snap buttons
Make a hole in the center of the flap near the top edge.
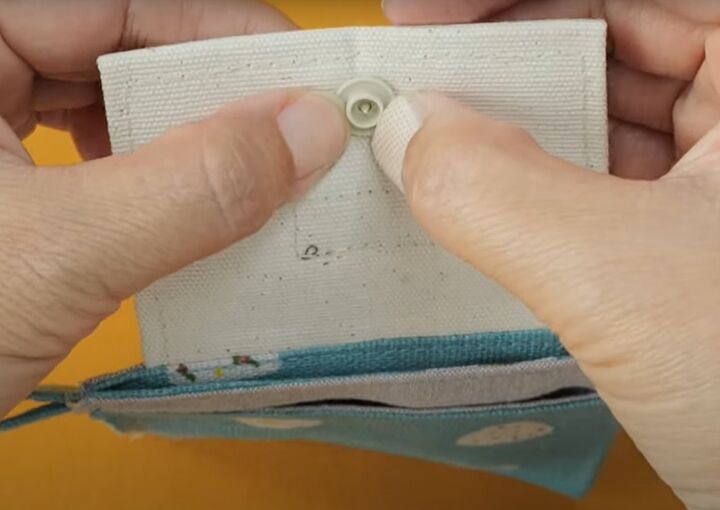
Push the male part of the snap button through the hole from the outside in.
Cover the point with the backing piece and use the setter tool to snap them together.
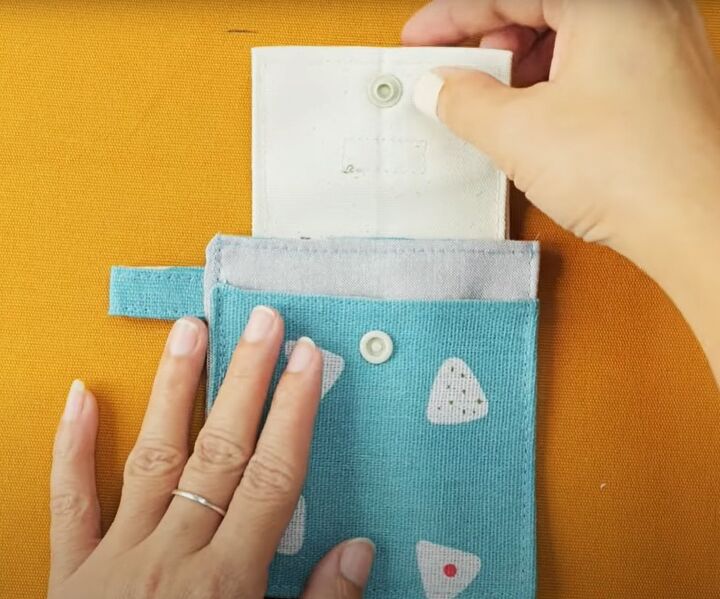
Attach the other half of the snap button to the outside of the pocket in the same way.
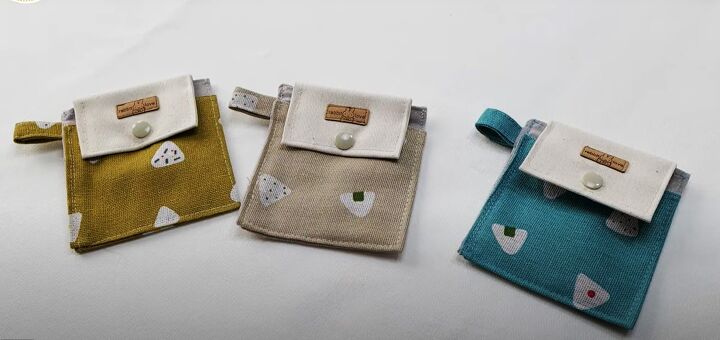
How to sew a pouch
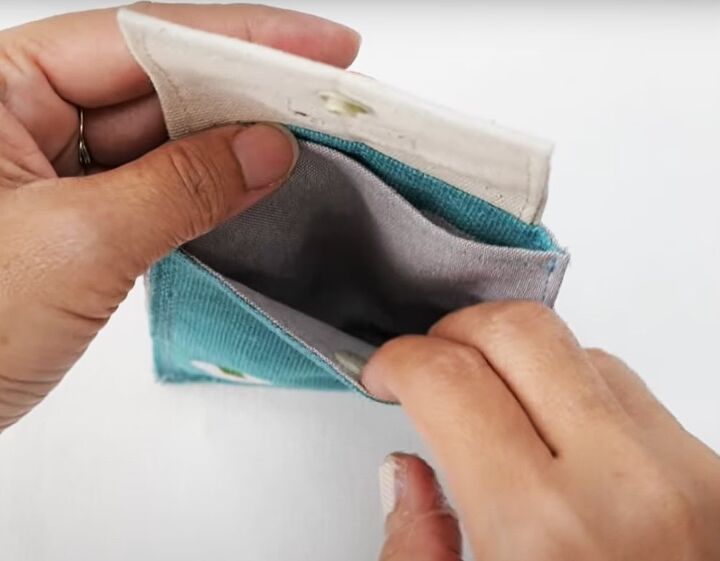
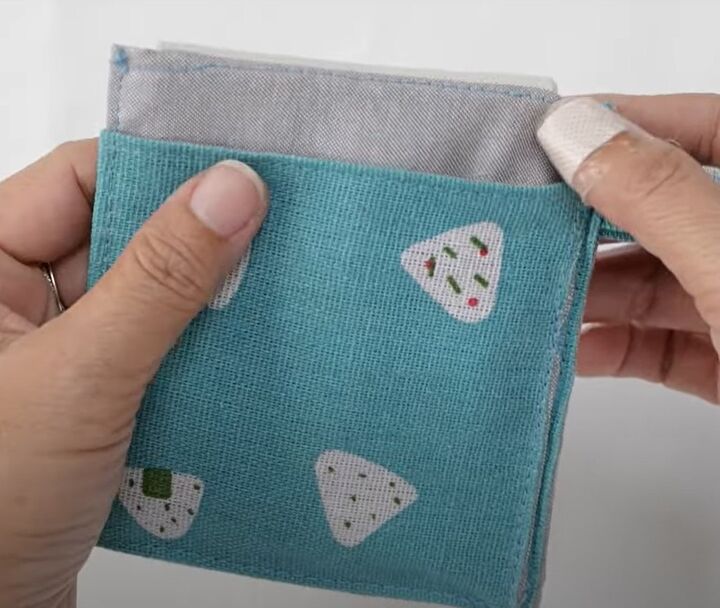
The finished DIY pouch has two inner pockets secured by the flap.
There is also an outer open pocket at the back.
You can scale up the size of the pieces to make a larger pouch, but I think this is the perfect size to use up your fabric scraps.
The pouches also look great made up in luxury fabrics to match an evening dress. There are so many ways to use them!
I’d love to know what you think of these mini pouches. Will you be making some yourself as gifts? Please drop me a comment below and tell me your thoughts.
Next, learn How to DIY a Cute and Easy Fabric Phone Case.
The author may collect a small share of sales from the links on this page.





























Comments
Join the conversation