Crazy DIY IKEA Bag Transformation Tutorial

If you have an IKEA shopping tote lying around the house, why not use it to create a fun DIY IKEA bag? This cute little clutch bag is great for day-to-day use.
In this tutorial, I'll share an IKEA bag pattern and all the steps you need for this adorable IKEA bag DIY. Let's get started!
Upstyle Recommends!
Tools and materials:
- IKEA bag
- Yellow zipper
- Seam ripper
- Scissors
- Ruler
- Zipper foot
- Sewing machine
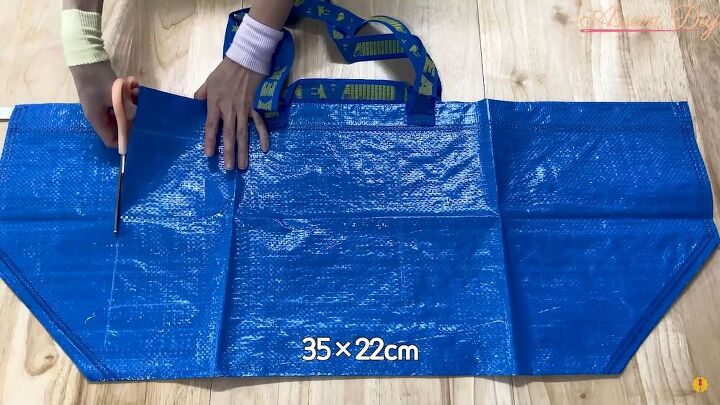
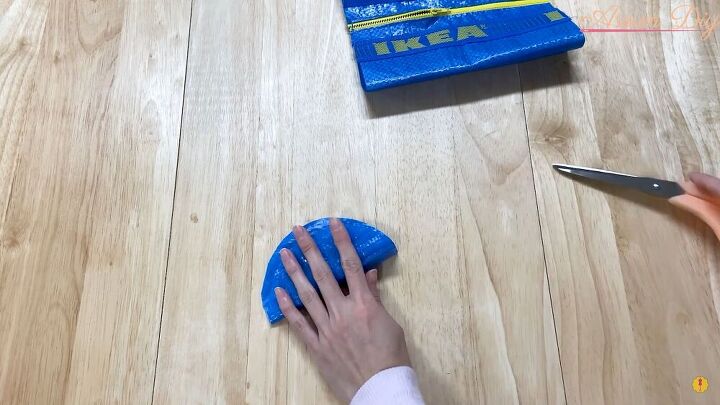
1. Cut the pattern
Lay your IKEA bag flat and measure a 35 x 22 cm (13.7 X 8.6 inches) square. Draw this out and cut, making sure that you are cutting only one layer.
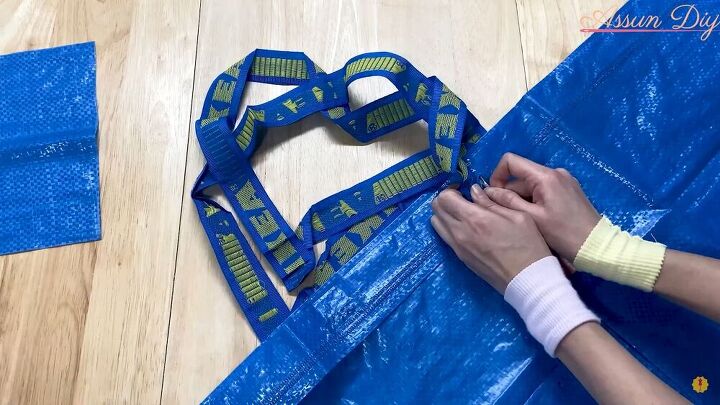
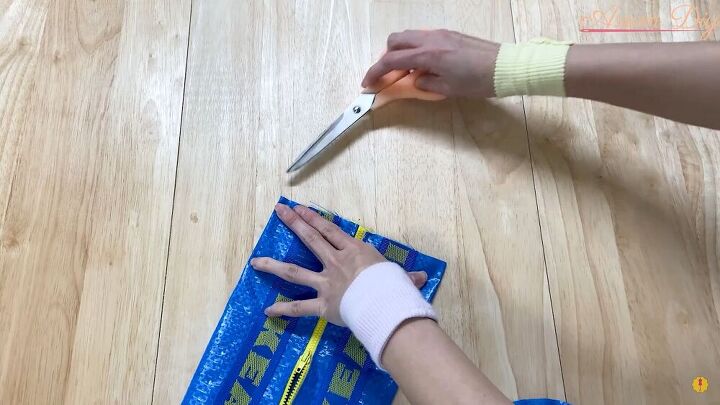
2. Modify the straps
Next, seam rip the straps, as you’ll be needing that for your new bag. Undo the seams so that you have two long straps.
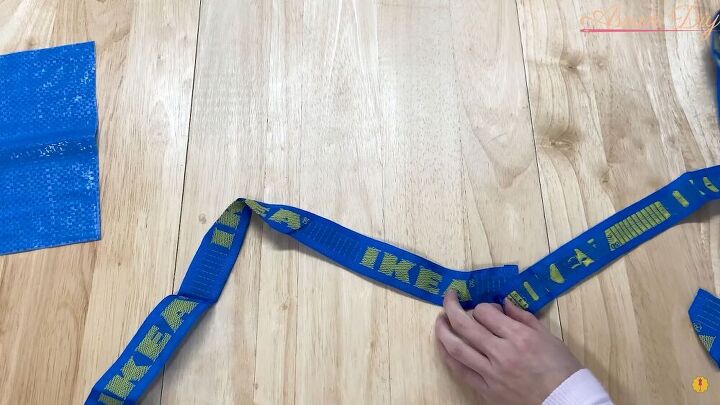
Sew the two long straps on the short ends, right sides facing.
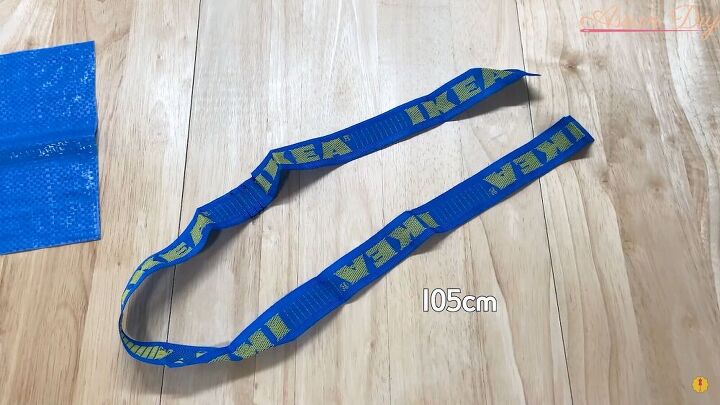
You should now have one long, 105 cm (41 inch) strap.
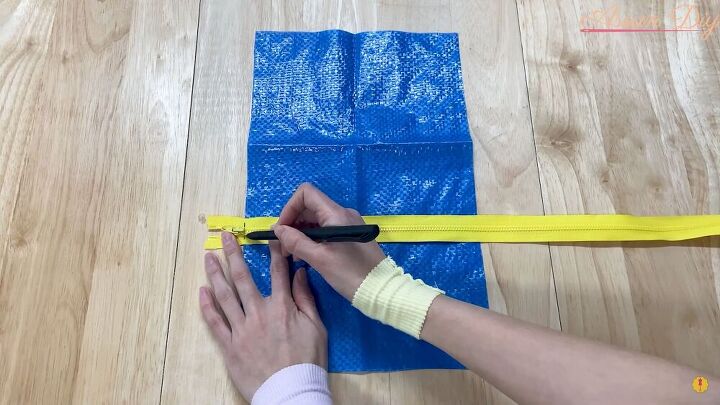
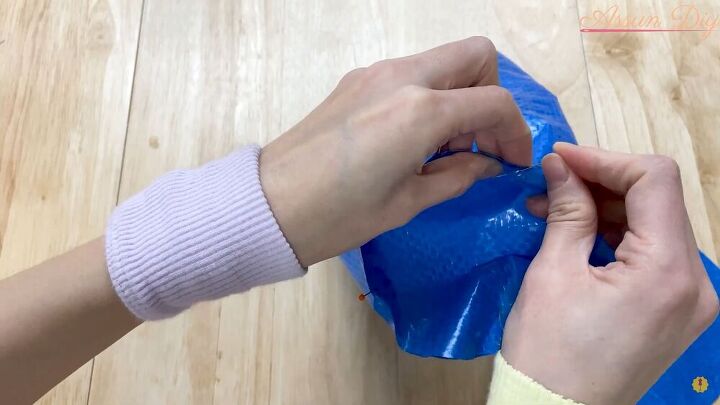
3. Attach the zipper
Take your bright yellow zipper and measure the width of the IKEA bag piece and mark the length on the zipper.
Now, pin the one side of the zipper to the side of the IKEA bag piece, as shown.
Make sure you don’t attach the tail on the zipper’s end. Also, pin the zipper with the right side facing down.
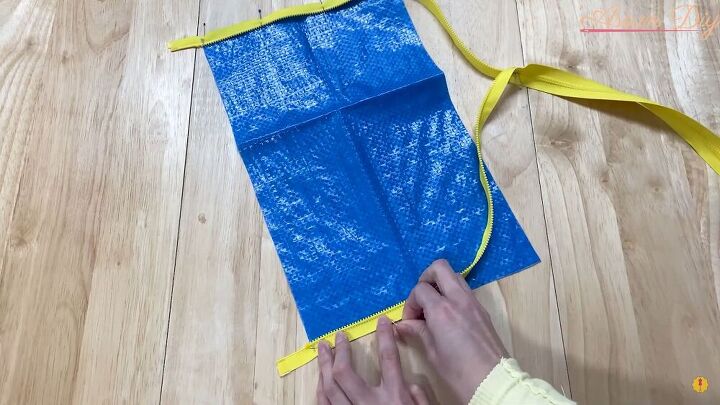
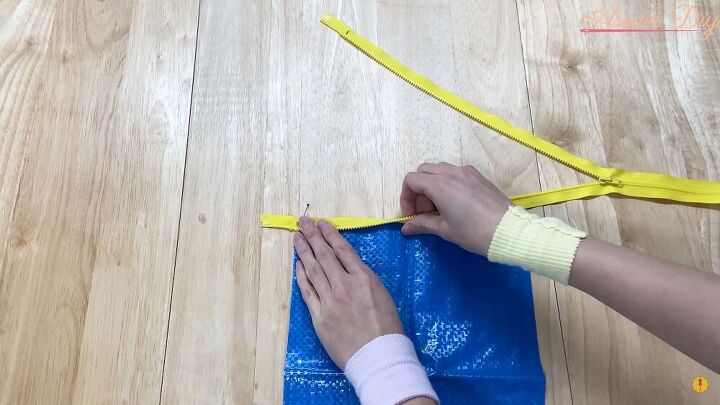
Next, take the other end of the zipper and pin it on the bottom edge of the IKEA bag piece.
As you can see, you kind of create a cross on the unpinned section of the zipper.
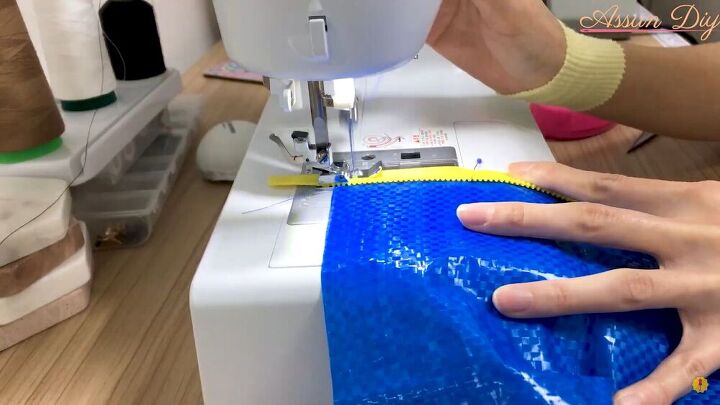
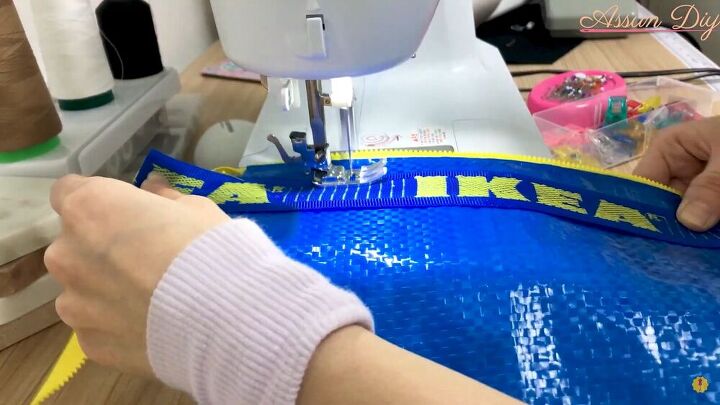
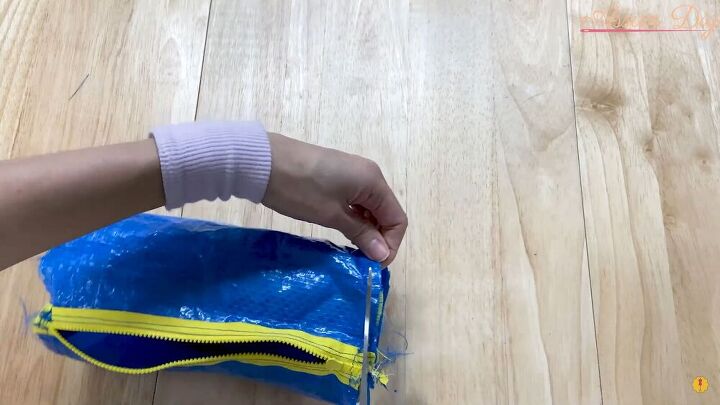
Sew along the edges using a zipper foot on your sewing machine.
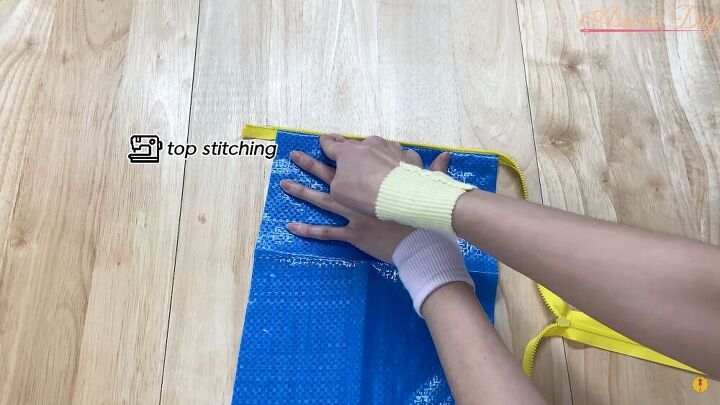
To ensure a clean and professional finish, fold the edges outward and topstitch as close to the zipper’s edge as possible. Repeat on the other side.
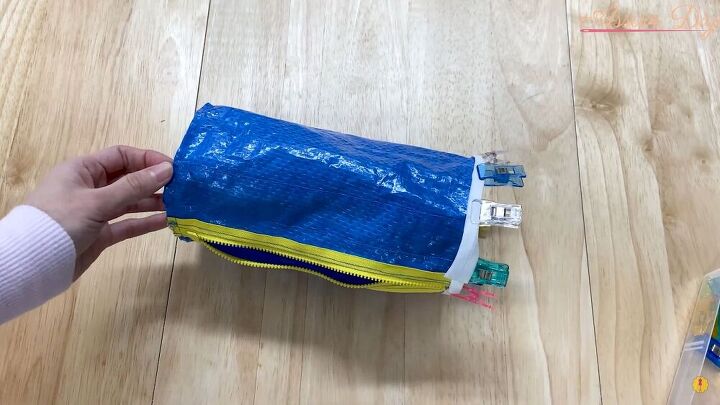
4. Attach the straps
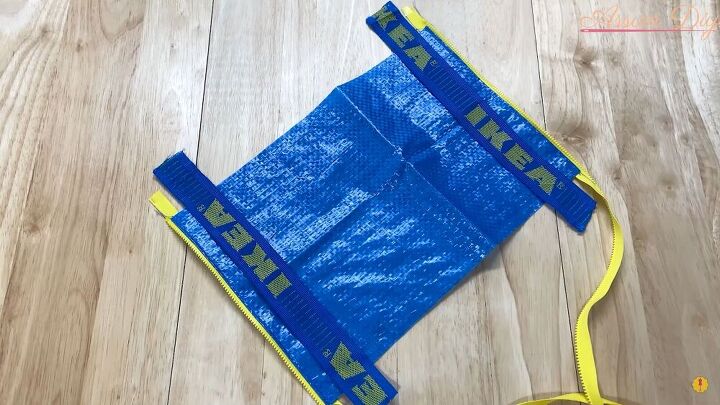
Cut two Ikea straps to size and place them about an inch away from the zipper on either side.
Stitch to secure, making sure to stitch the strap on either side, again, leaving the ends loose.
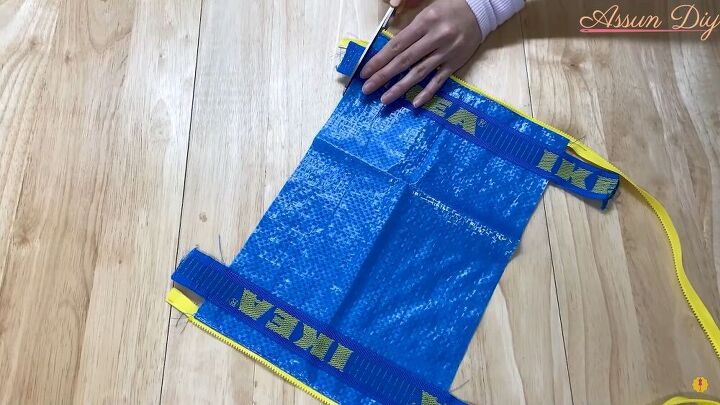
Now, cut the short ends of both the strap and the zipper.

Fold the purse in half, zip up the zipper, and carefully cut off the loose end.
Sew one end of the zipper, as shown.
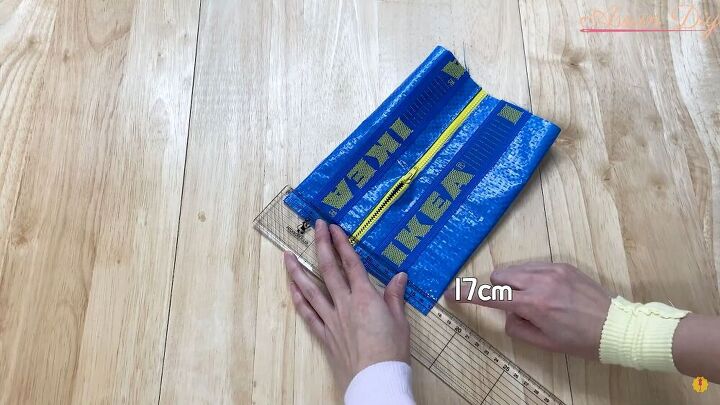
5. Make the side pieces
You’ll notice that the sides of the purse are open. You’ll need to make two pieces to attach on either end.
Start by measuring the length of the purse; mine was 17cm (6.6 inches).
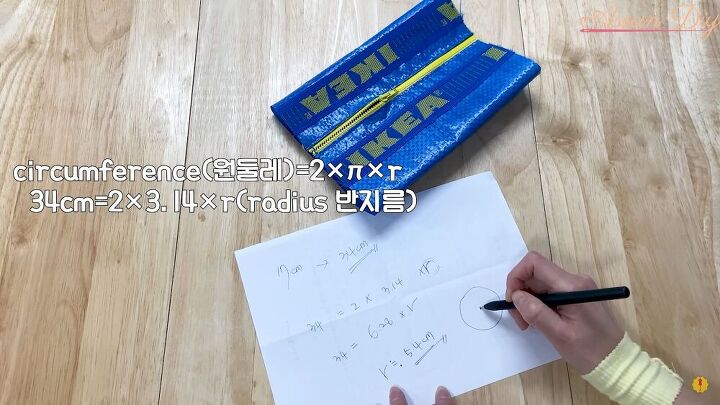
Now, to make a circle, there’s an equation to follow.
First, take the length of your side and multiply it by two. Next, follow this equation as shown above.
Since my measurement was 17cm [6.6 inches], I will work with 34cm [13.3 inches].
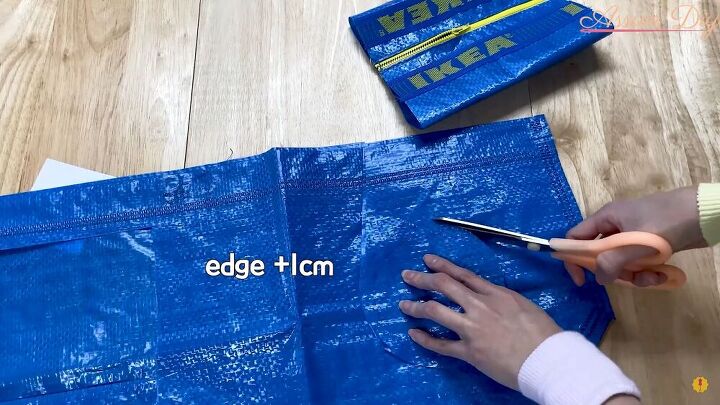
I will need to use a 5.4cm (2.1 inches) radius. I trace this on the original bag and cut out the circle.
When cutting, add a 1cm (¼ inch) seam allowance. Also, cut the second piece by simply following the first circle’s outline.
Fold both circle pieces in half and cut small notches on either end.
Then, fold it in half on the other side and cut two more notches, leaving you with four even notches.
Go ahead and make notches on the bag, too, folding in half each time so that you also have four notches all around. This will help you line the pieces when sewing.
6. Assemble the bag
To attach the circle pieces, fold your bag inside out and pin the circle pieces to either side by matching the notches you just made.

Next, attach the long strap to the IKEA bag purse by sliding it inside (right sides facing the bag) and attaching it on either end from the inside of the bag.
Remove the top pin and insert the short end of the strap through the circle. This will be sewn together with the circle pieces.
Sew on either end and cut off any excess fabric.
7. Add the bias tape
To make your bag stay upright and sturdy, attach some bias tape around the circle’s rims on either end. Fold it over as shown, pin, and sew accordingly.
Tip: When you get to the zippers, sew over them slowly.
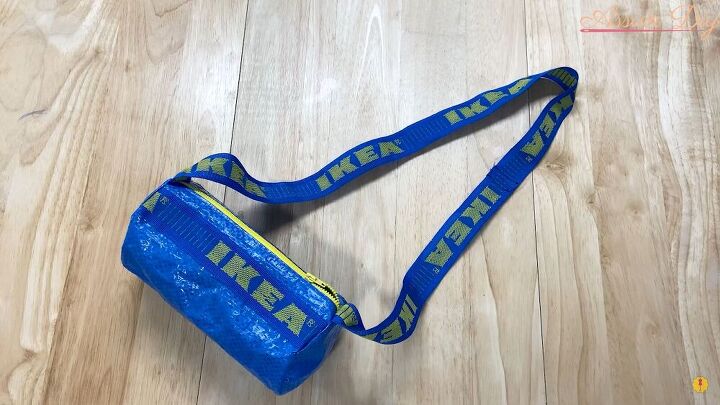
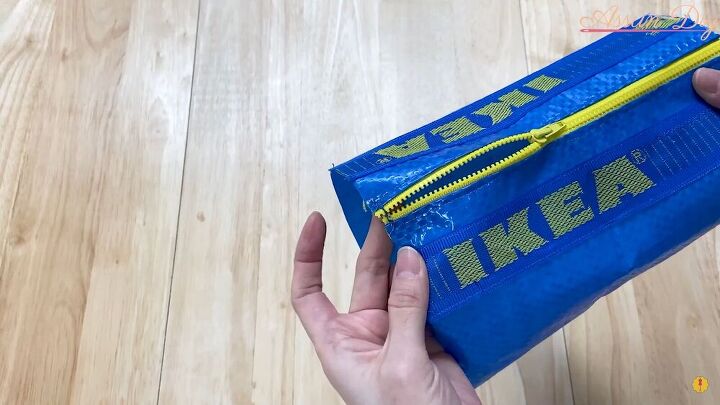
Fold your bag inside and out and look at your lovely, completed IKEA bag DIY.
IKEA bag DIY
It looks totally awesome, and the strap part is my favorite.
How do you like this IKEA bag upcycle? Let me know in the comments.
I think it’s a clever, inexpensive way to make a purse in a really unique way.
How to Turn Pants Into a Skirt
DIY!
The author may collect a small share of sales from the links on this page.


Comments
Join the conversation
It's cute but an awful lot of work for the amount of use you'd get out of the final product!
Why oh why would you use a perfectly good and useful bag into a small little trash bag purse??? Somebody suggested using a chicken feed or maybe even a cat or dog food bag but to tear up a really useful bag like this is sacrilegious This has got to be the worse hack I’ve ever seeen