Easy Bow Tutorial for the PERFECT Coquette Bow
Making the perfect bow from a ribbon is easier than you think, if you follow this ribbon and bow tutorial!
Now you can make bows to match everything, and for every occasion.
Tools and materials:
- Ribbon
1. Weave your ribbon
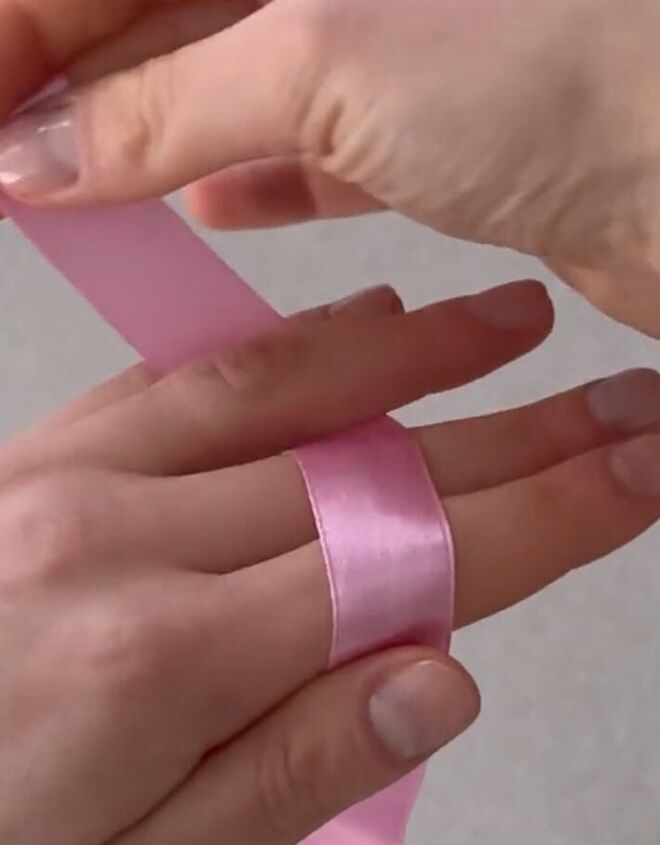
Using the length of ribbon you want for your bow, and the tail of the bow, use your hand to weave the ribbon.
Pass the ribbon over your first 2 fingers, under your third, and over your pinky finger.
Now release your first finger, moving it to the top of the ribbon.
Wrap the ribbon over your first finger and under your second finger.
And now, bring the ribbon back over your second finger, and under your first finger.
Repeat that one more time, going over your first finger and wrapping around your second.
Instead of going back under your first finger, this time, bring the down, over the criss-crossed ribbon, between your first and second fingers.
Push the ribbon under the crisscrossing, between your fingers, so it comes up at the front of your hand.
Bring the ribbon over the criss-crossing to the top of your hand.
2. Finish your bow
On the underside of your ribbon bow, pass the ribbon through the loop that has been created, making a knot.
Pull the knot tightly to secure it.
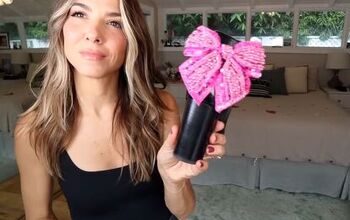
Check out your perfect ribbon bow!
Use it in your hair, on wrapping, or anything you want to decorate.
Don’t forget to leave a comment and let me know how you are using your DIY ribbon bows.
Next, Add Ribbon to Your Hair to Create This Unique Look.
Follow me on Instagram: @ayseacun
Follow me on TikTok: @ayseacun
Check out my YouTube channel: Ayse Acun
Enjoyed the project?
Suggested materials:
- Ribbon
The author may collect a small share of sales from the links on this page.


Comments
Join the conversation
Thank you. I explained that perfectly!!